| |
|
|
|
PROCEDURE
FOR CHN AUTO RUN
|
|
Materials
Required:
|
 |
|
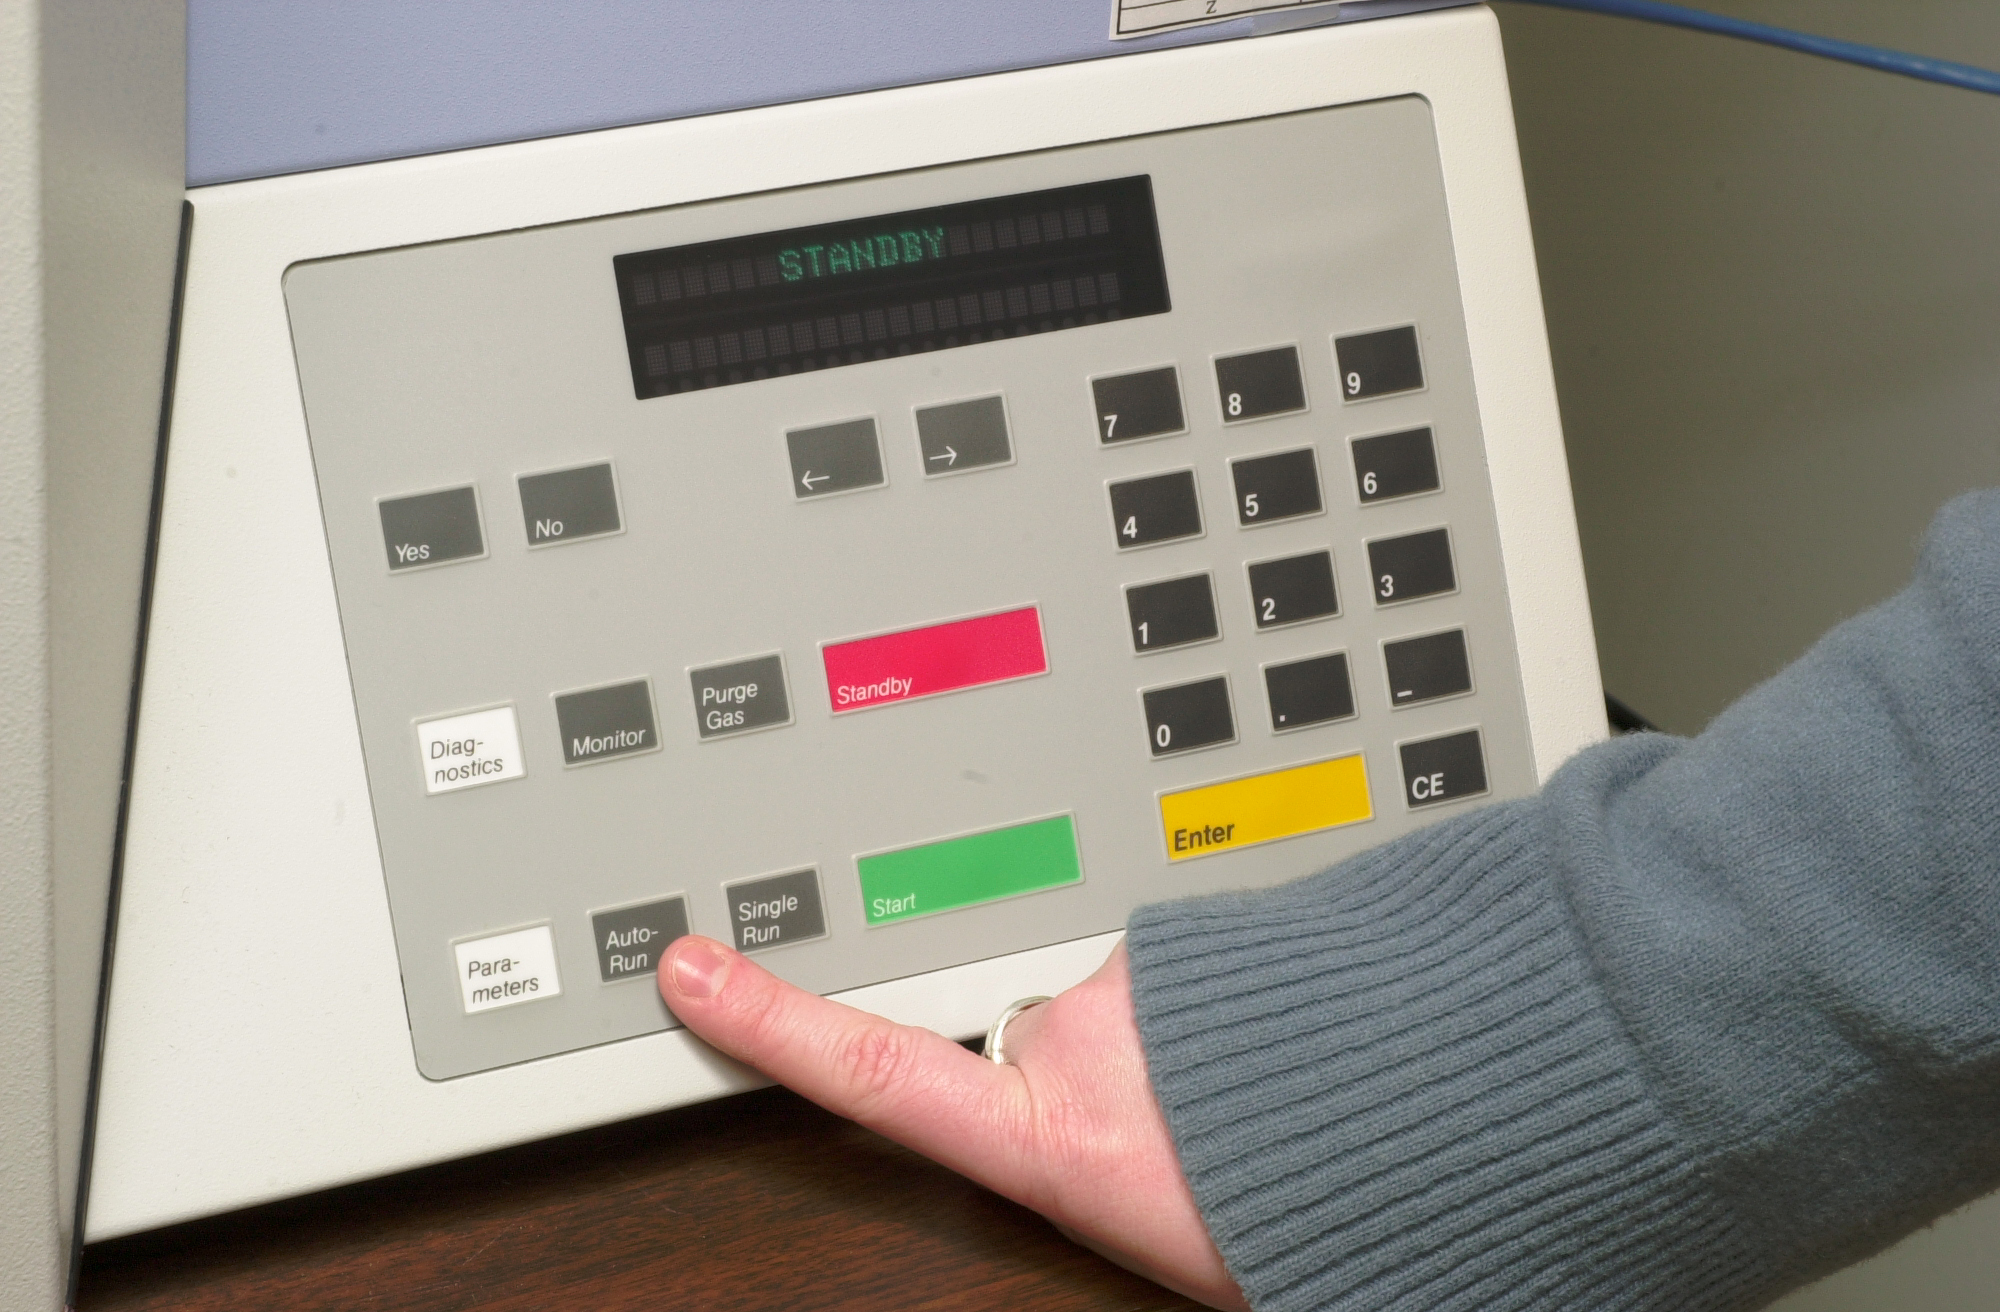
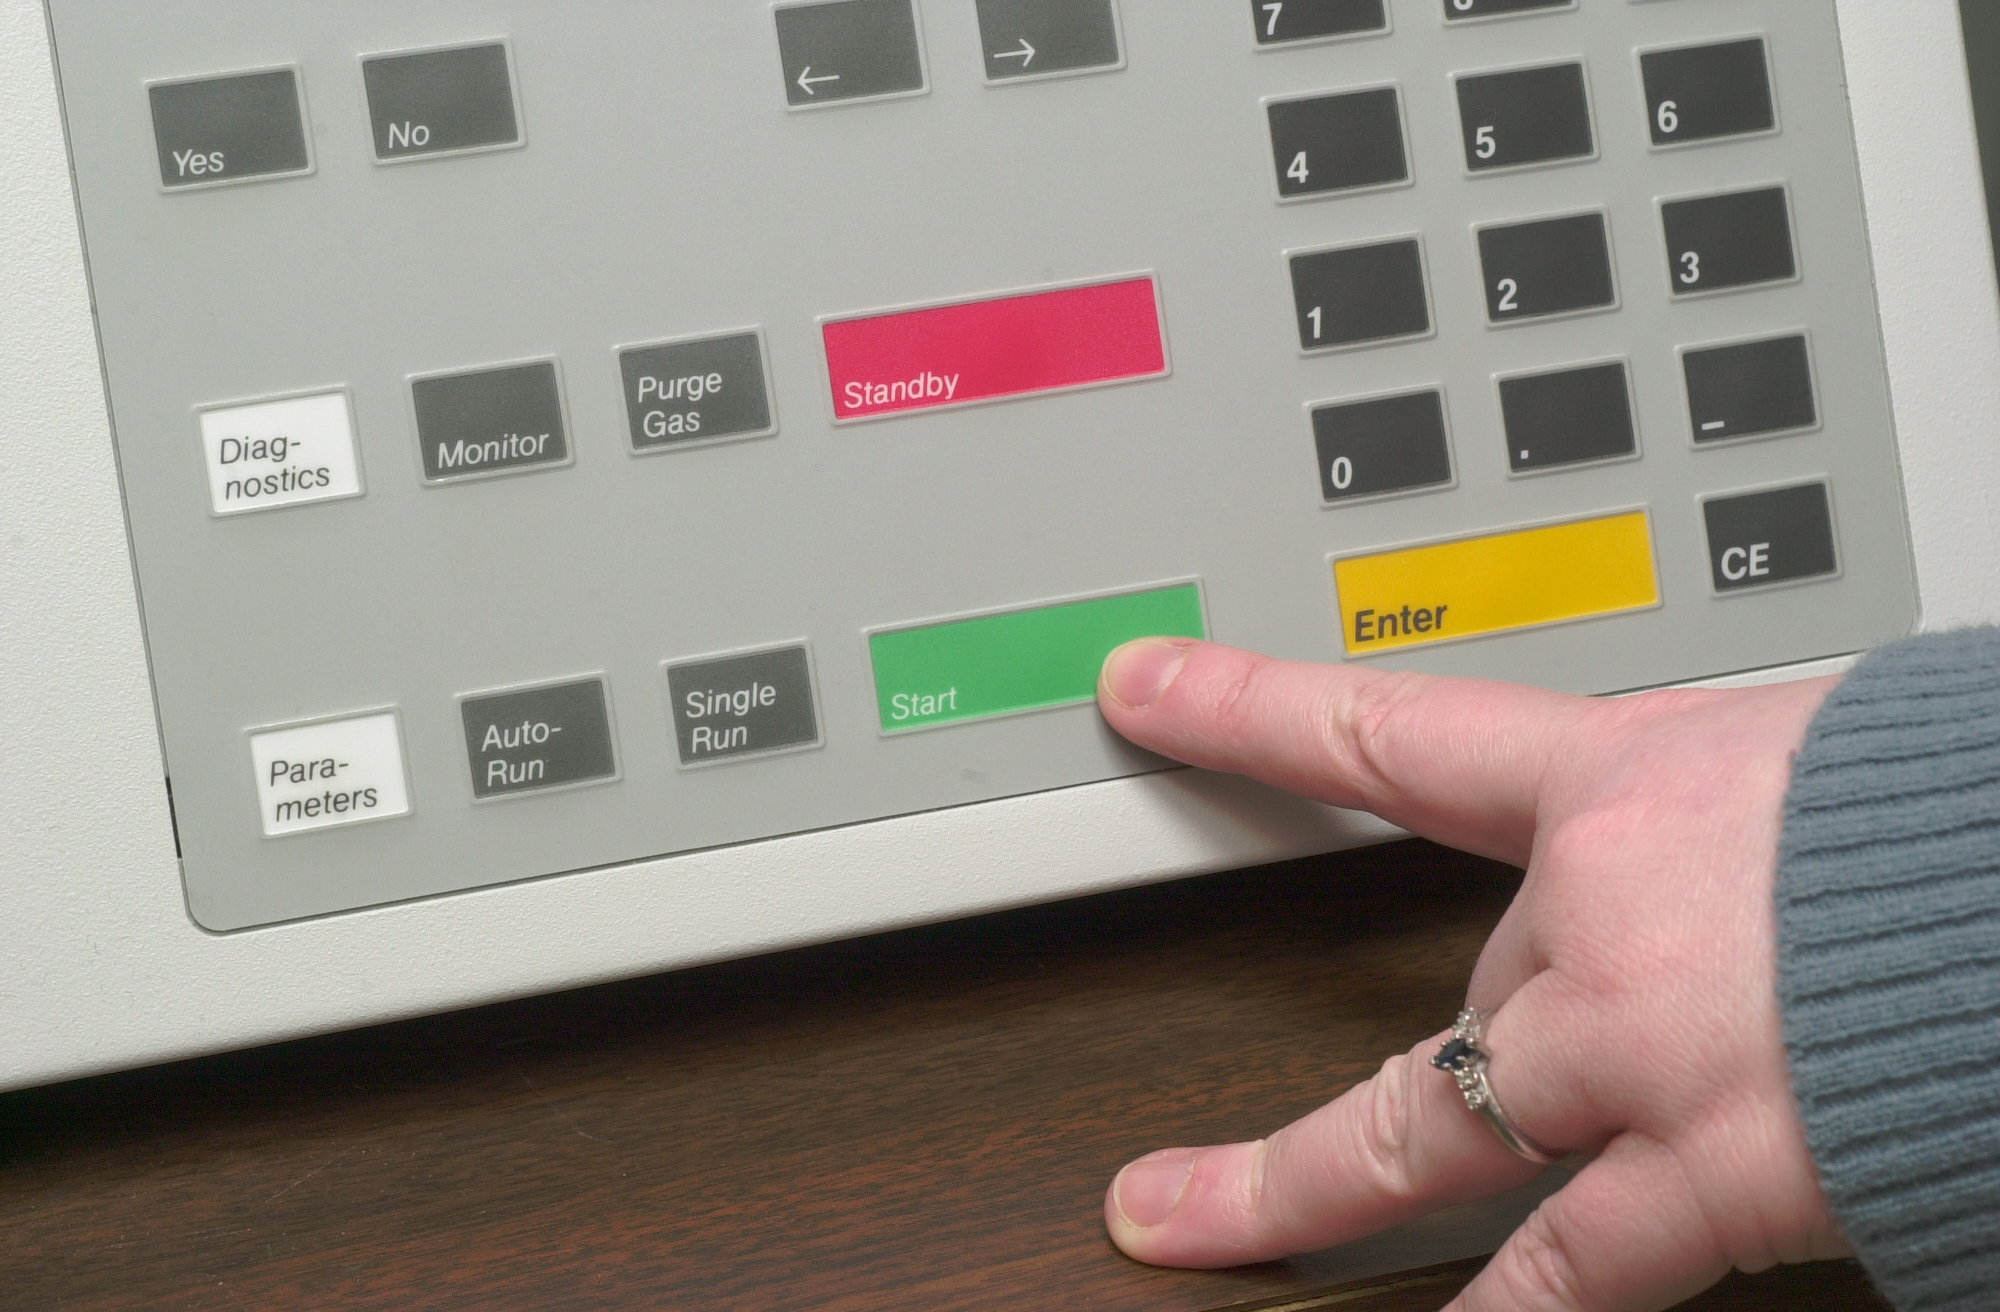
After the CHN Start-up Procedure, you can now set up an Auto Run for your samples. Press Auto Run and press #4 to Reset the machine back to Sample #1. |
 |
|
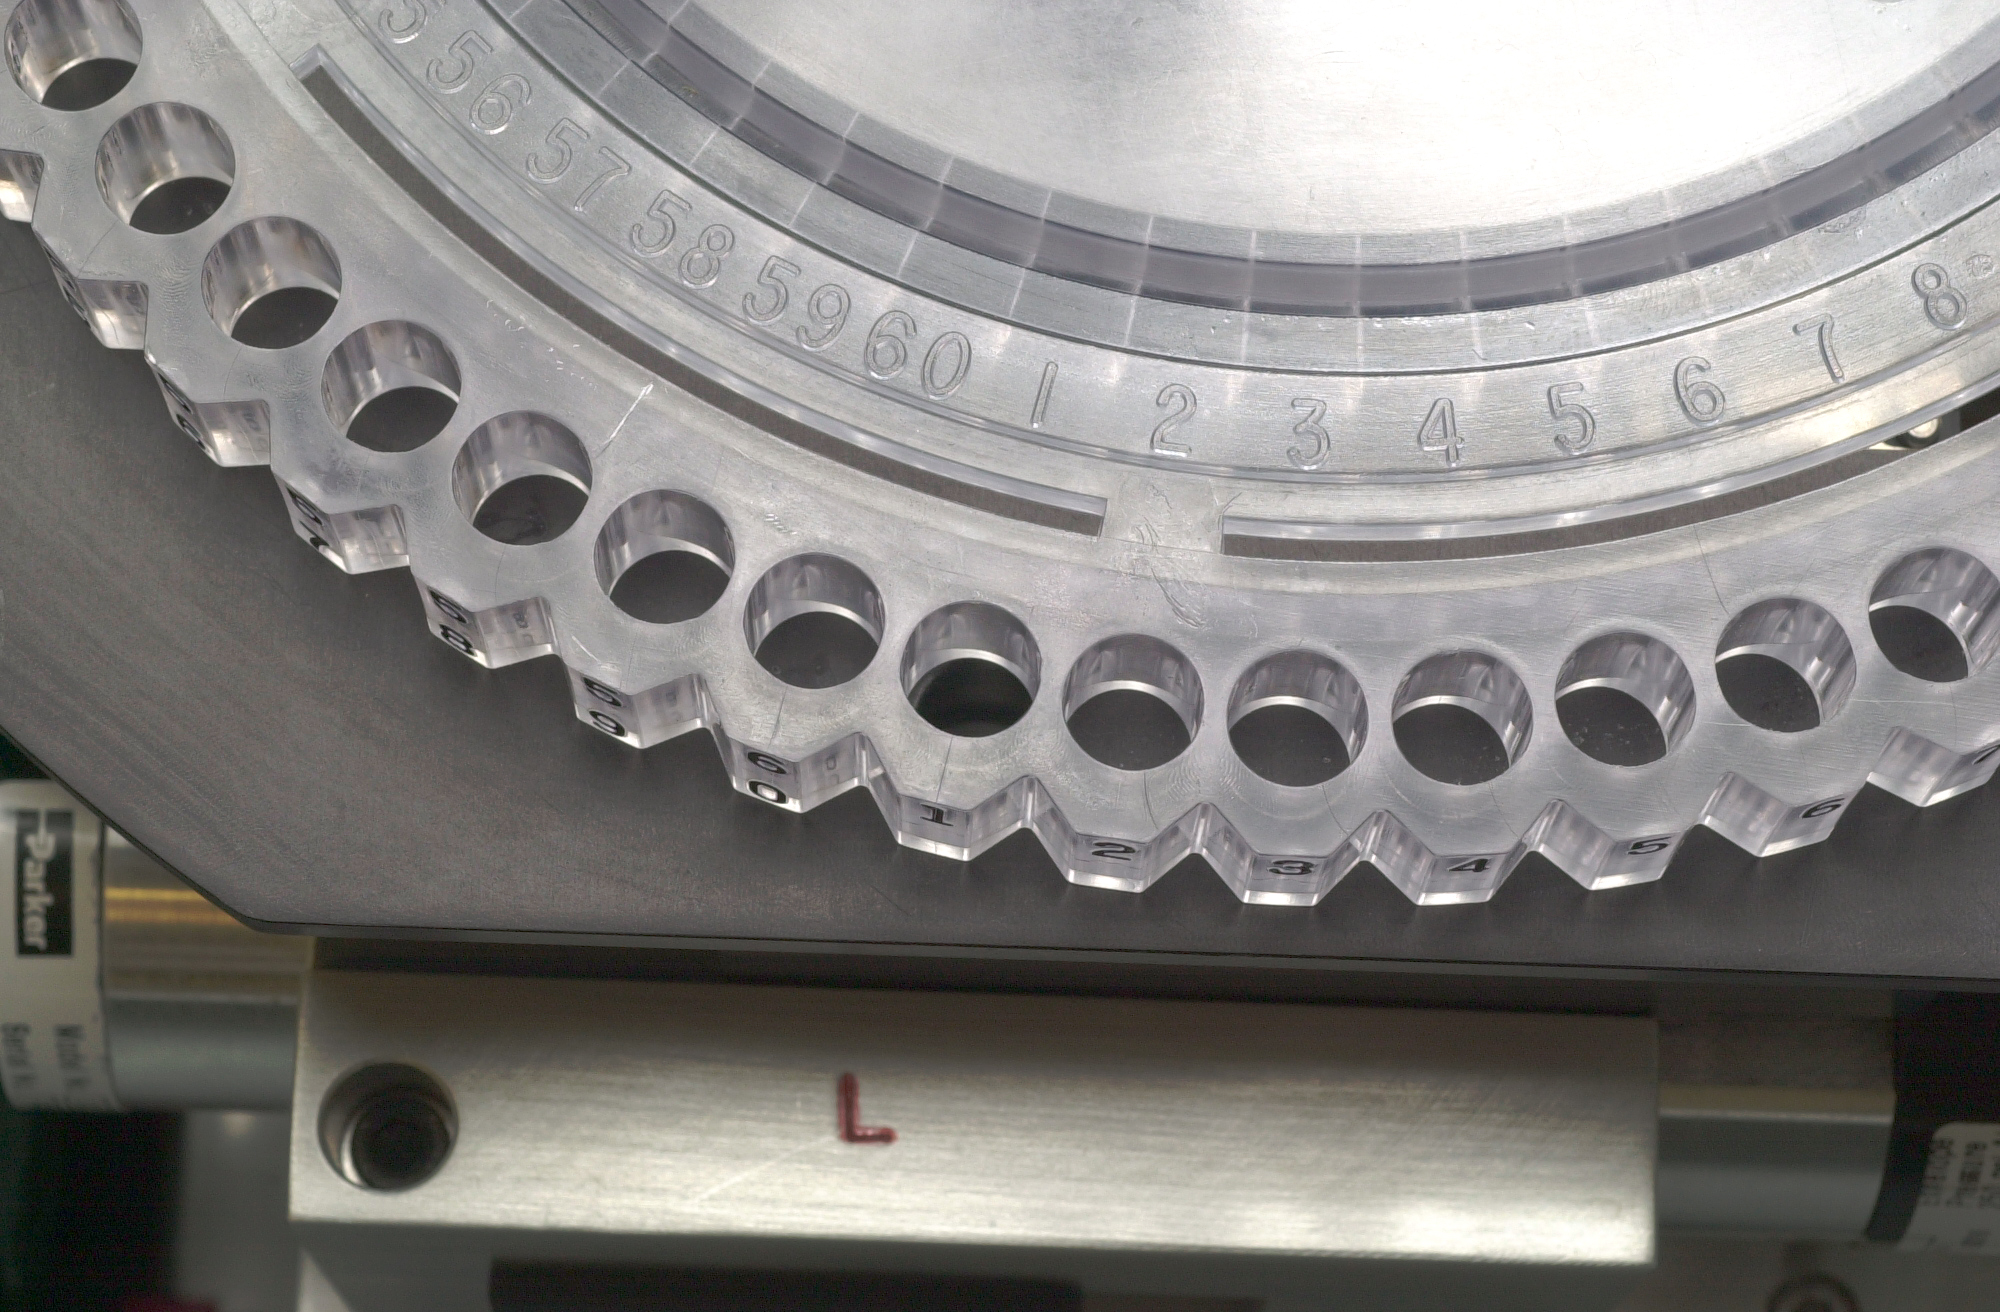
Manually set sample wheel so the #1 tray space is over the sample drop hole. |
 |
|
Start entering the Run Sequence - see Excel worksheet. Enter the sample ID's and weights for samples, standards, and blanks from the Sample Weight Data Sheet. |
 |
|
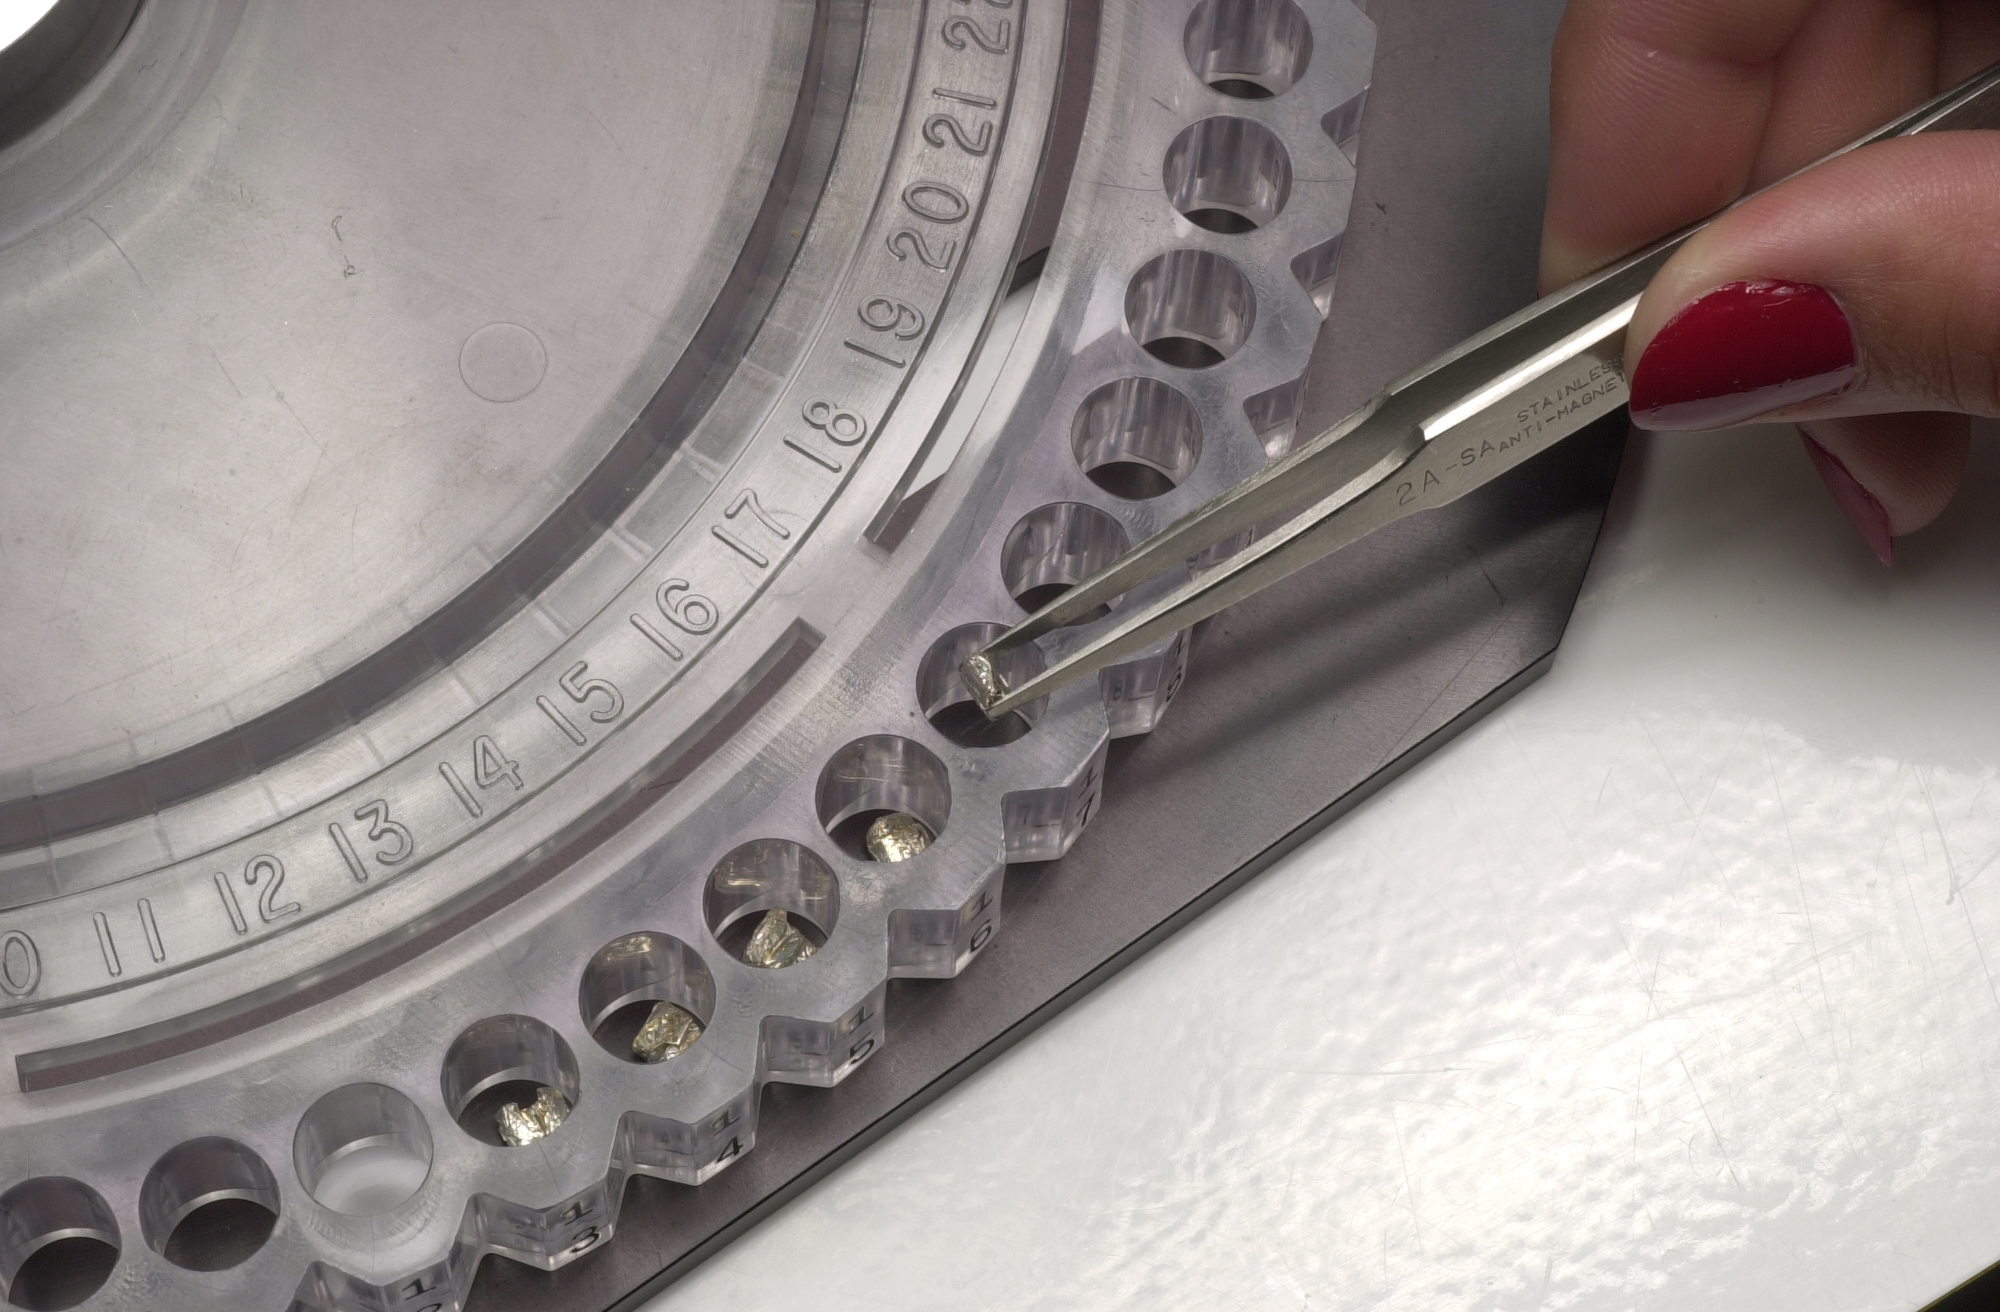
After you have entered the data into the Excel spreadsheet, you can now add your samples to the sample wheel tray in the same order you entered them into the machine. Use forceps to drop your samples into the autosampler.
|
 |
| Once
these steps are completed, you may hit Start and the machine will begin
to analyze your samples.
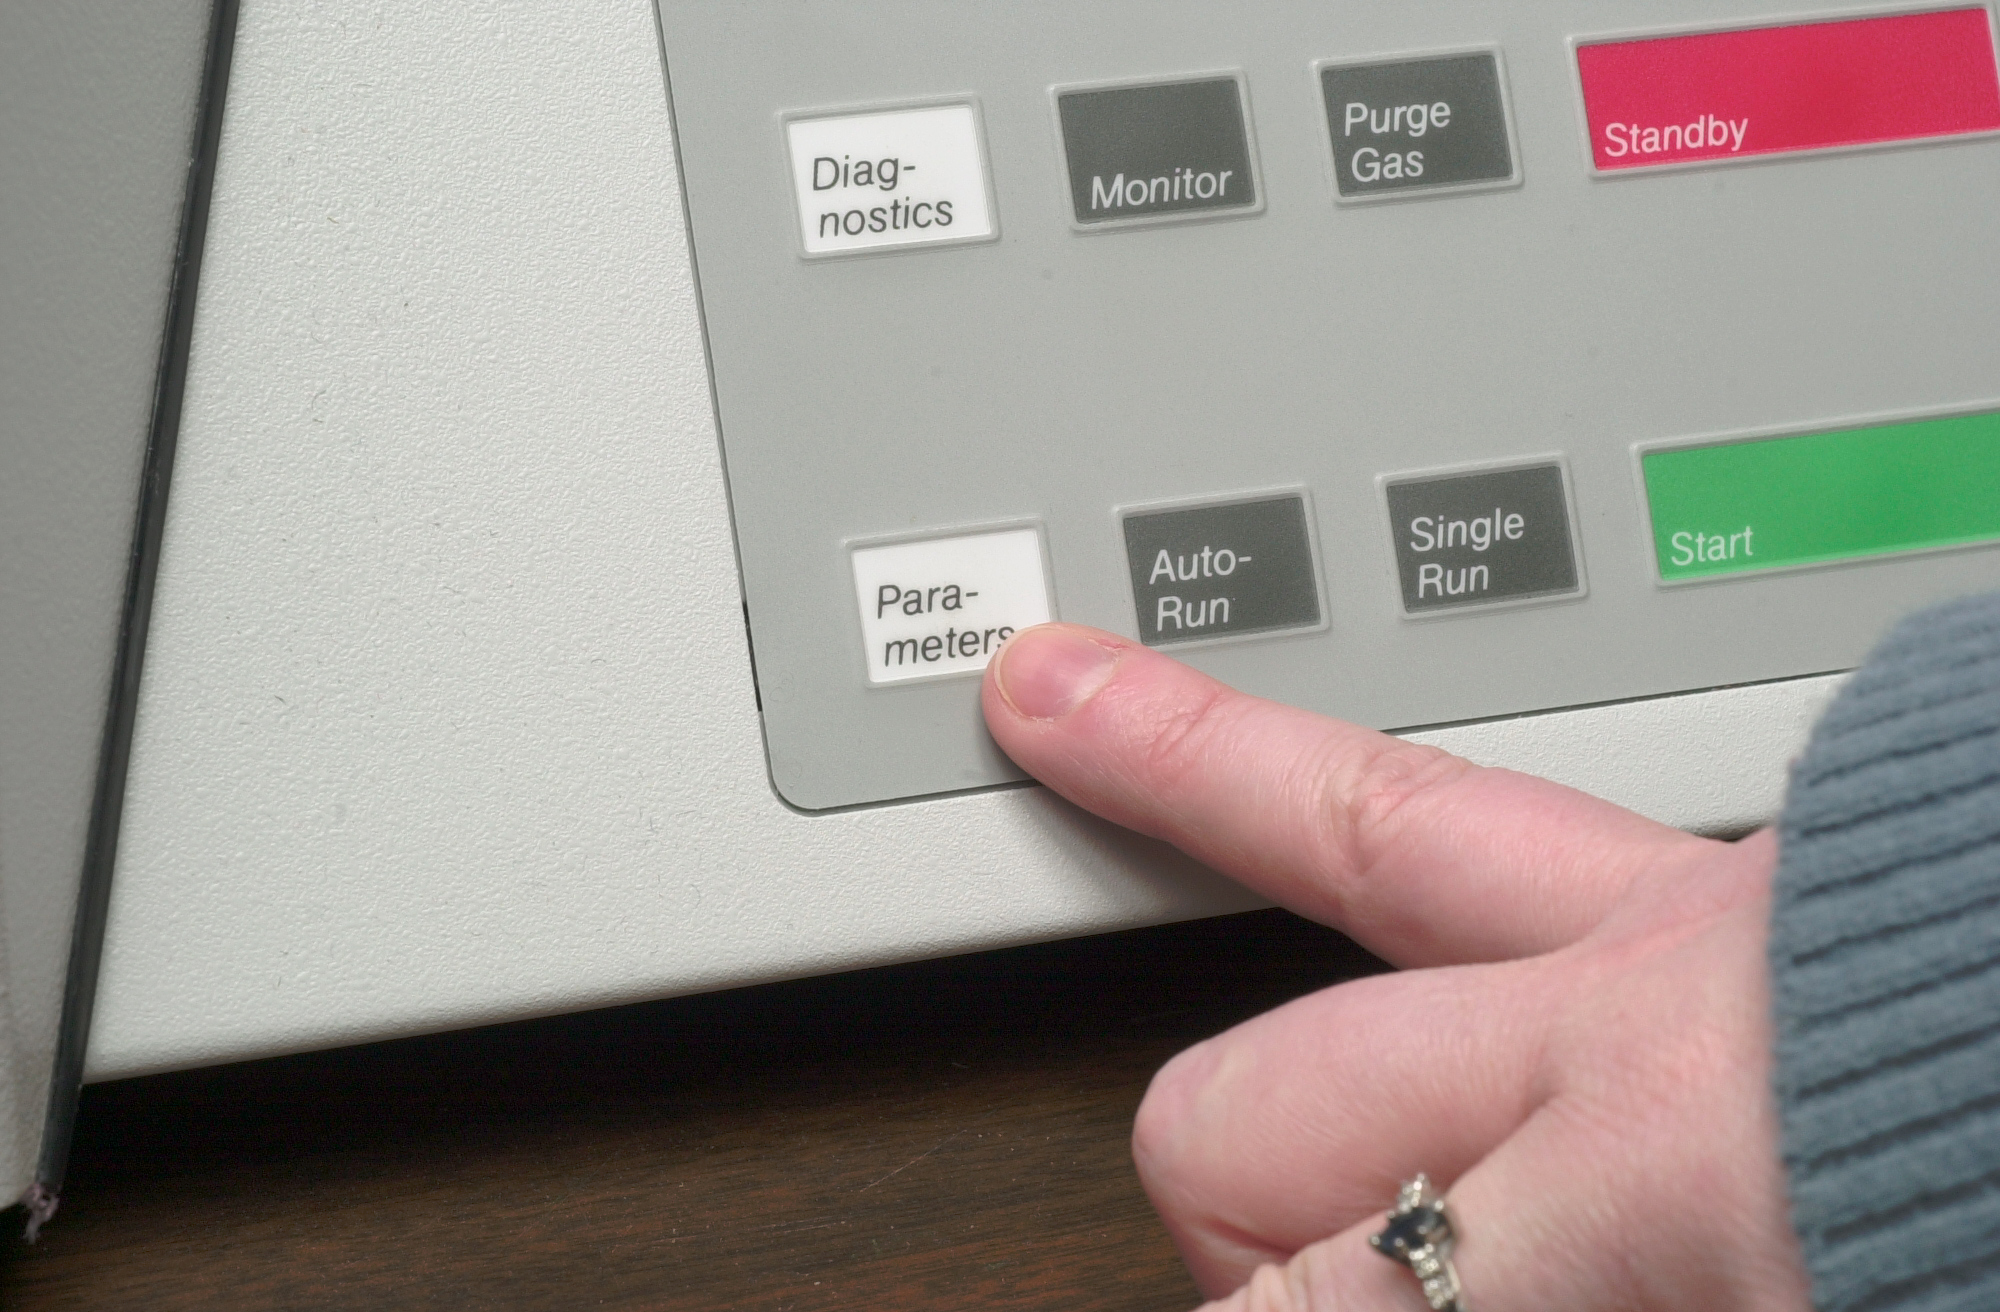
The machine keeps the standard
averages from the previous run in its memory, so once the first 3 K-Factors
of the new run have been analyzed, you can manually enter the new averages
by pressing Parameters 14 to change the K-Factor Criteria. Enter the
new averages of C, H, and N for the 3 runs of the K-factors just analyzed.
|
  |
|
Although the auto sampler has only 60 spaces for samples, the machine can hold information for 120 samples. As a sample is analyzed and the space in the autosampler is made available, you may add your next sample and continue the run - Run 61 in the machine is back to space 1 in the autosampler, Run 62 is space 2, etc. |
|
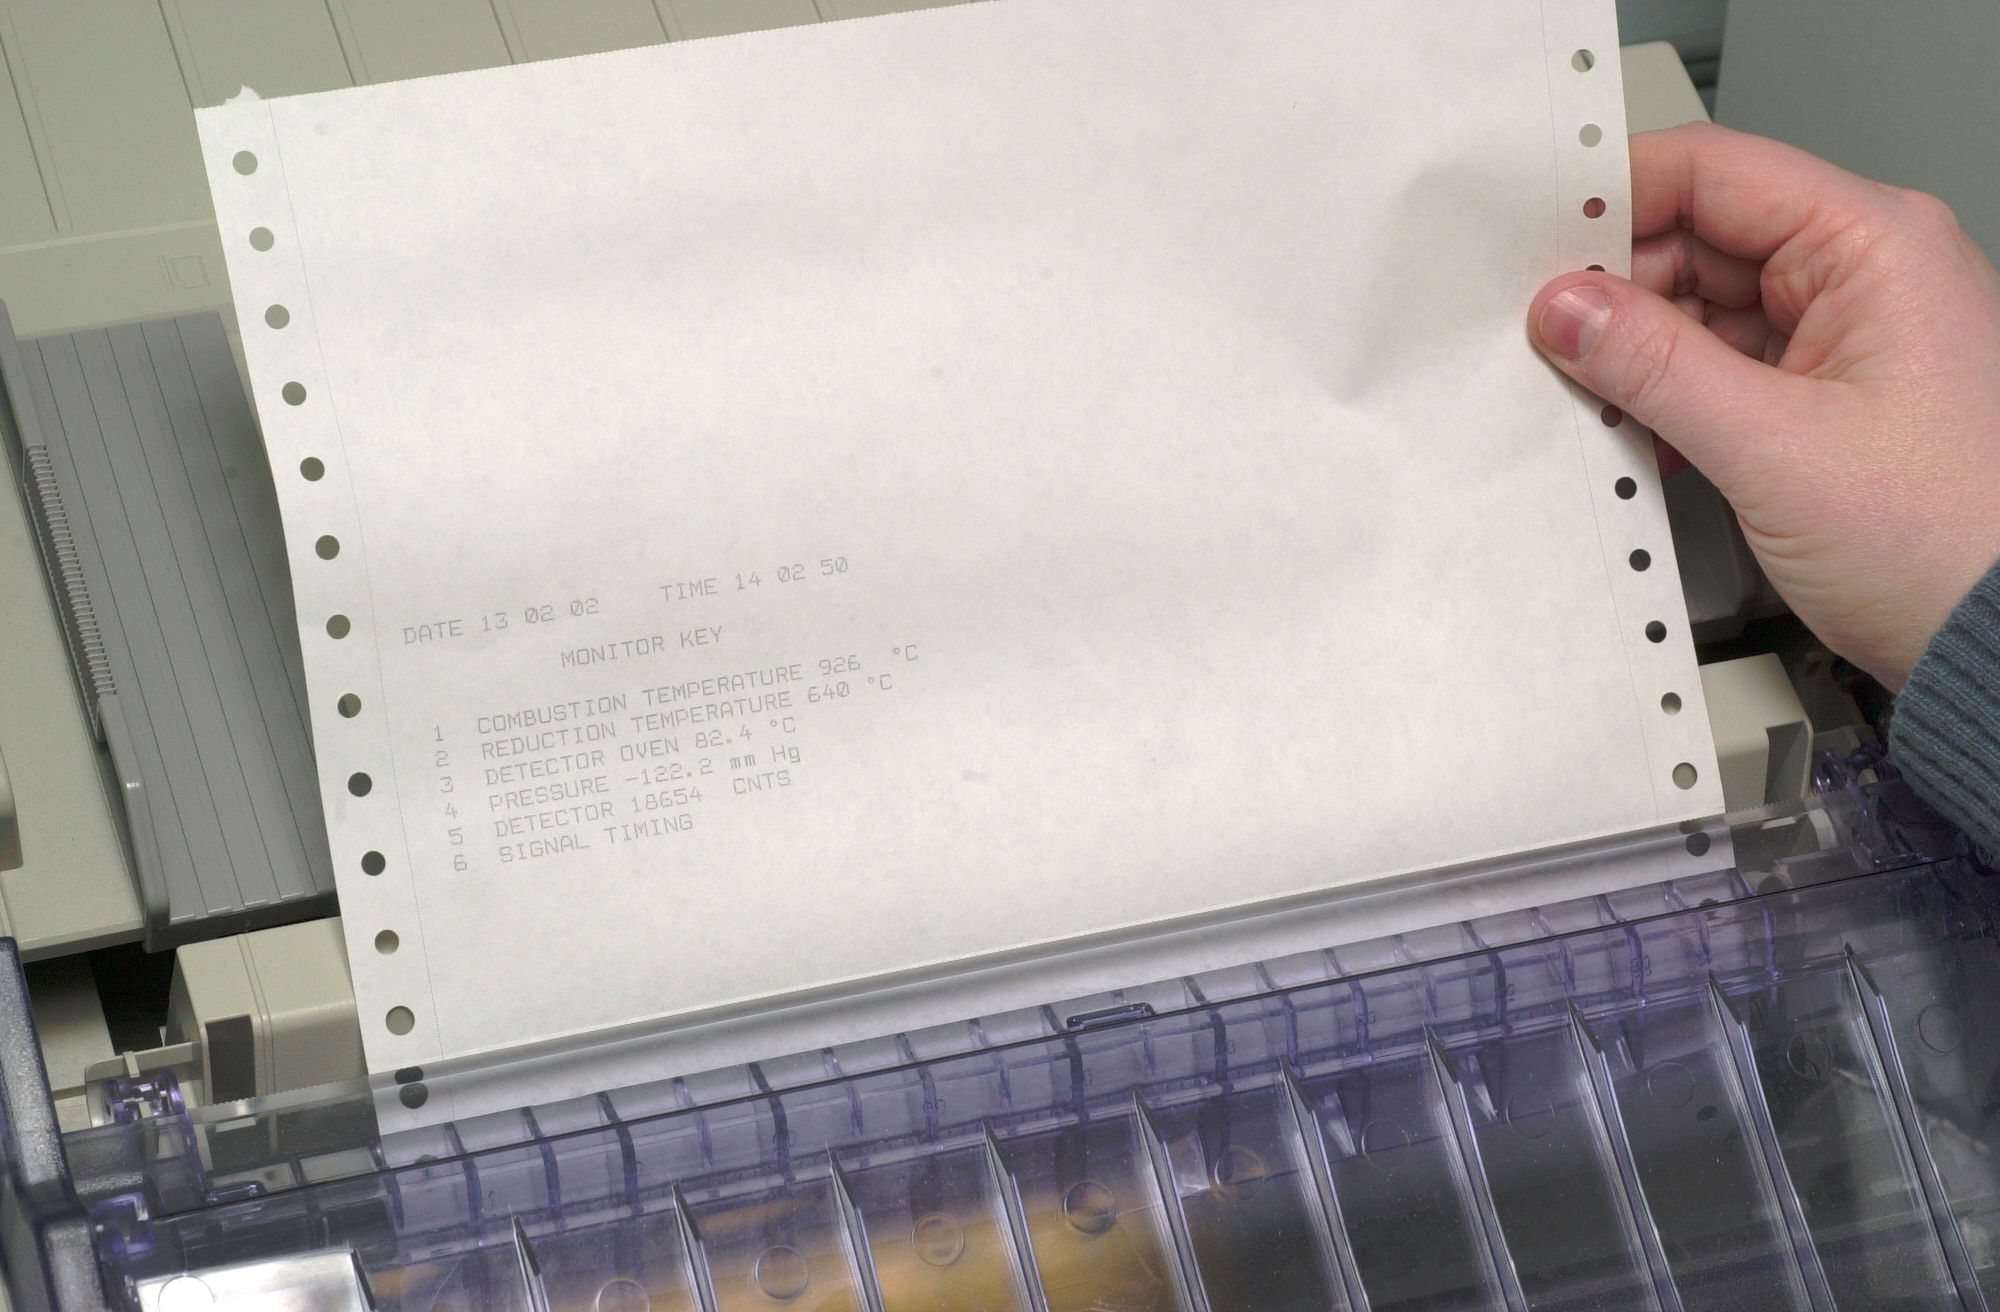
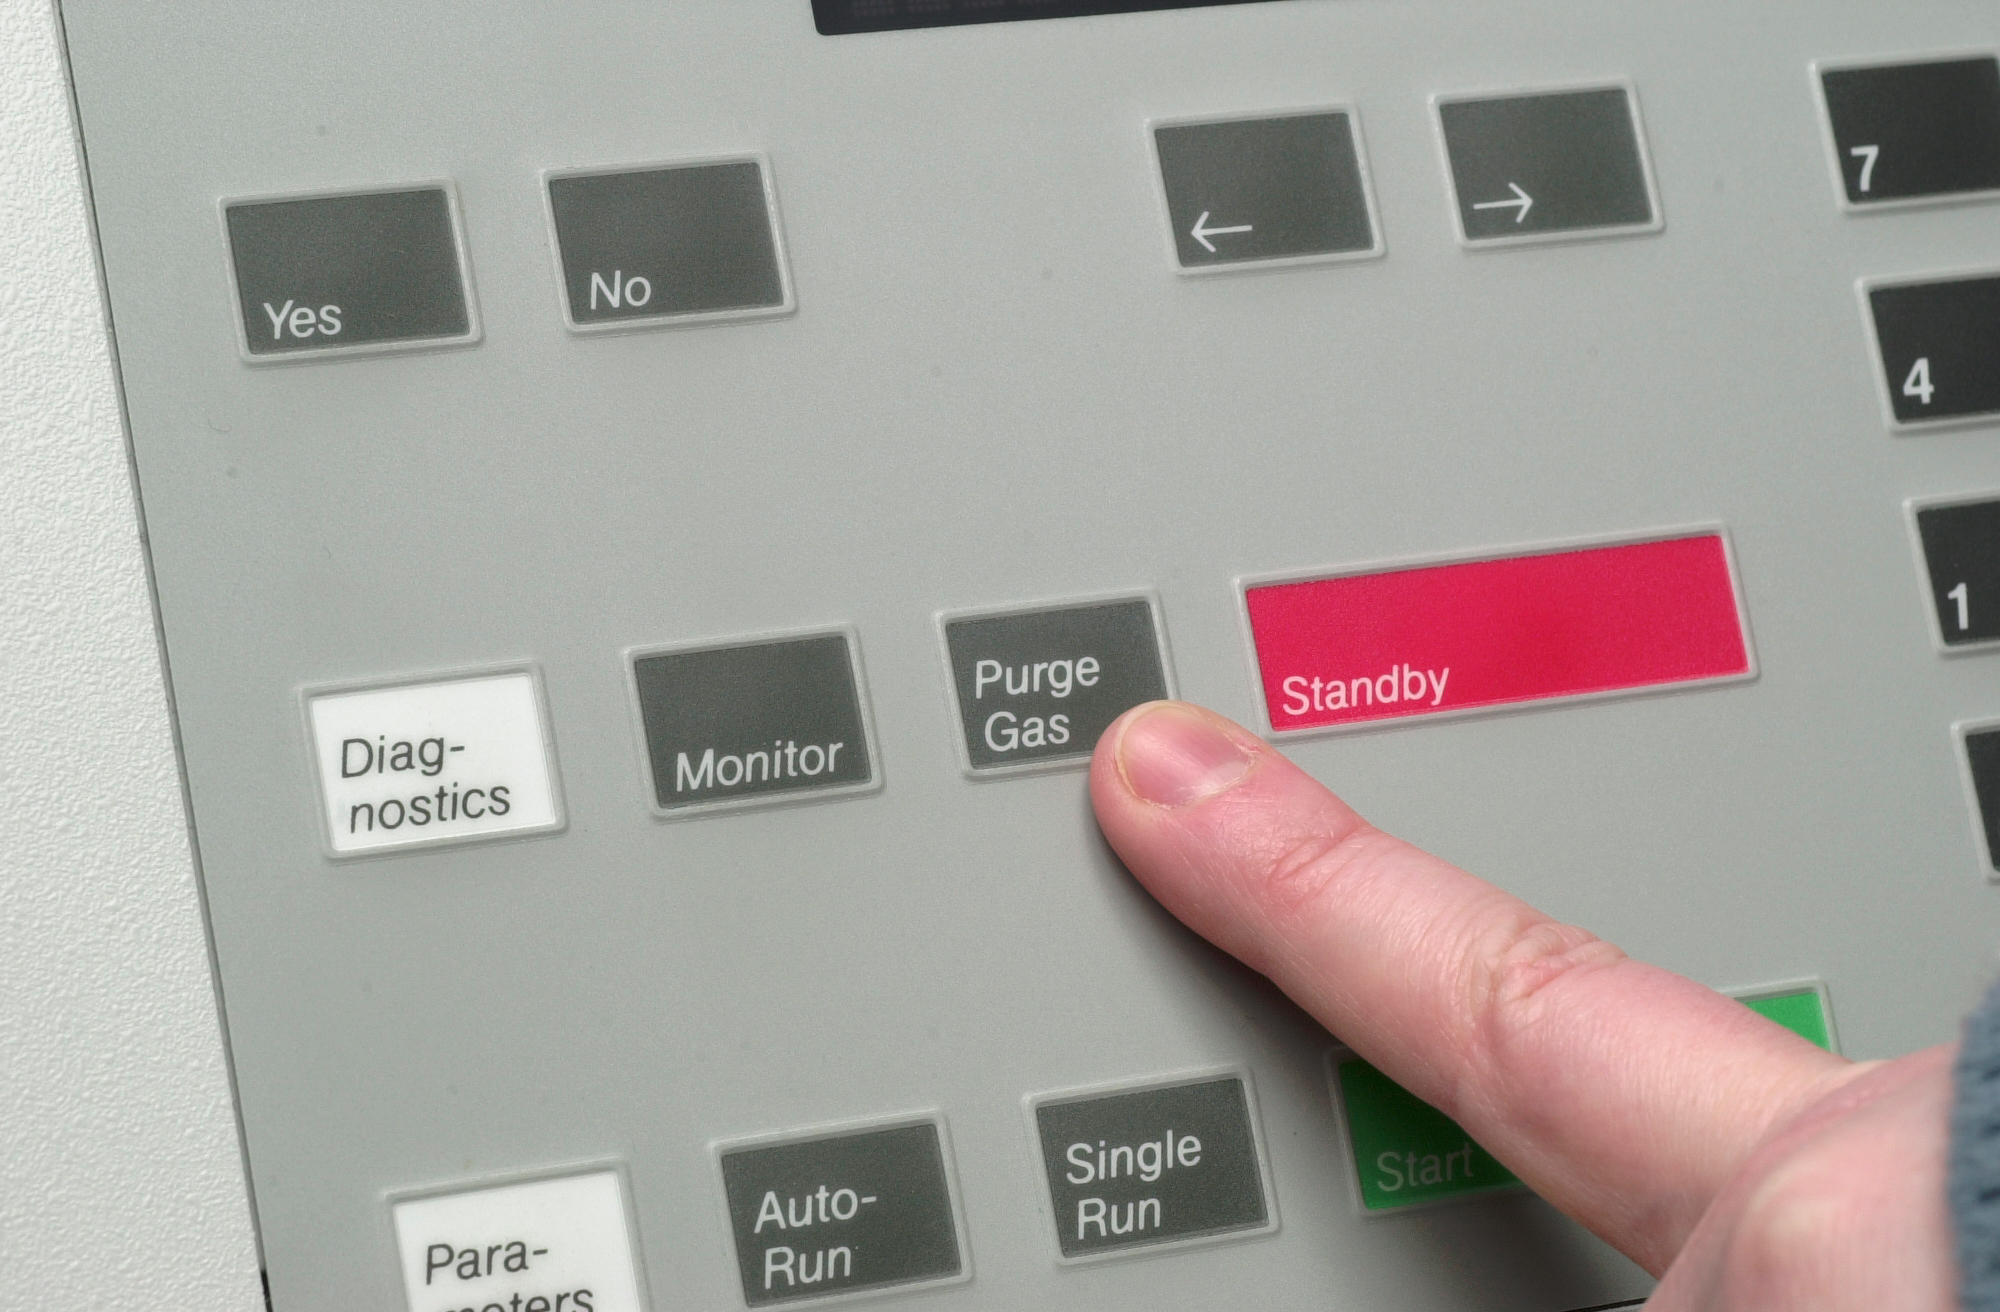
| Constantly
check the printout to watch the values after the standards are analyzed
to ensure that the machine is functioning properly. * see Troubleshooting When the Auto Run is finished, the machine will go into STANDBY and you may proceed with the Shut Down. If you plan to use the machine the following day or in the near future, you do not need to do the complete shut down process. From STANDBY, press PURGE GAS to purge both the Helium and Oxygen tanks. After the purge is complete, you may leave the machine in STANDBY mode with the furnace on. When you are ready to use the machine again, follow the Warm Start procedure.
|
|
| |
 Return
to Index
Return
to Index |