 |
|
|
A Laboratory Manual for X-Ray Powder Diffraction
Bulk mineralogy of a sediment sample can be determined by X-ray diffraction with a randomly oriented powder mount. The random orientation insures that the incident X-rays have an equal chance of diffracting off any given crystal lattice face of the minerals in the sample. The use of a powder press to make randomly oriented powder mounts is undesirable because excessive force could cause preferred orientation of the crystallites. Although some orientation is inevitable (platy minerals tend toward some preferred orientation), the method described below is sufficient for most applications.
Sample splits are commonly dried at 60 C prior to the preparation of randomly oriented powder mounts. The mounts are typically X-rayed between the angles of 2 and 70 degrees two theta using copper K alpha radiation at a scanning rate of 2 degrees per minute.
| PREPARATION OF RANDOMLY ORIENTED POWDER MOUNTS |
|
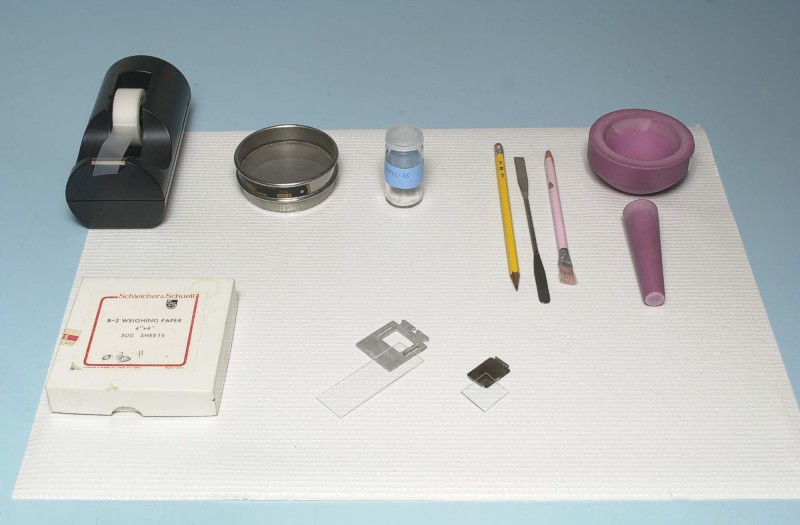
Materials Required:
|
 |
| Tape the glass slide over the opening of the sample holder. Leave tabs on each side for later removal of this cover, but fold the extra tape against itself so that it will not stick to other objects or the sample. Place the holder glass side down on a piece of weighing paper. | 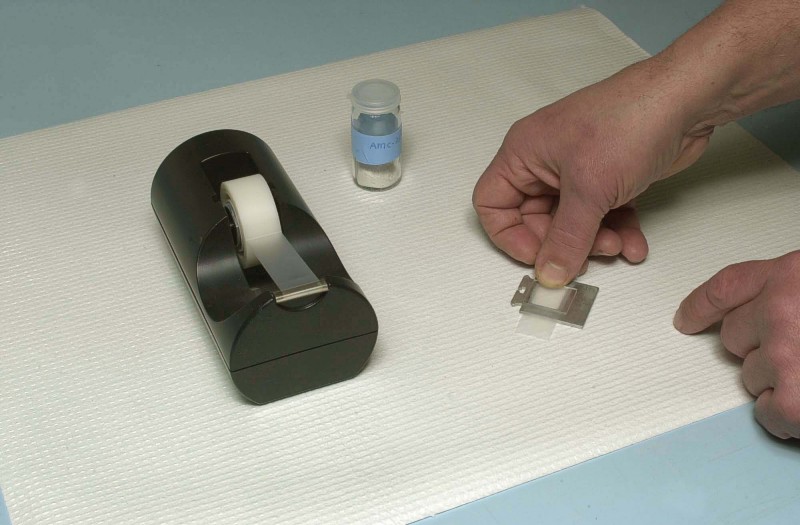 |
| Grind the dried sample thoroughly so that it is easily brushed through the sieve. The particles should be much finer than .062 mm to avoid fractionation of the minerals. The sieve is used only to achieve even distribution and to ensure that the grinding is complete. | 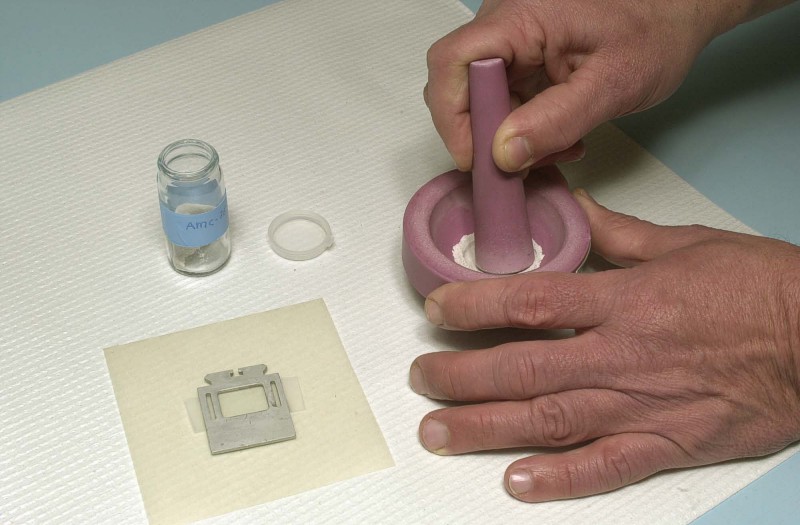 |
| Place a second holder over the first as a mask. This enables the buildup of a thick enough layer of sample for later packing, while maintaining a clean metal surface on the final holder. | 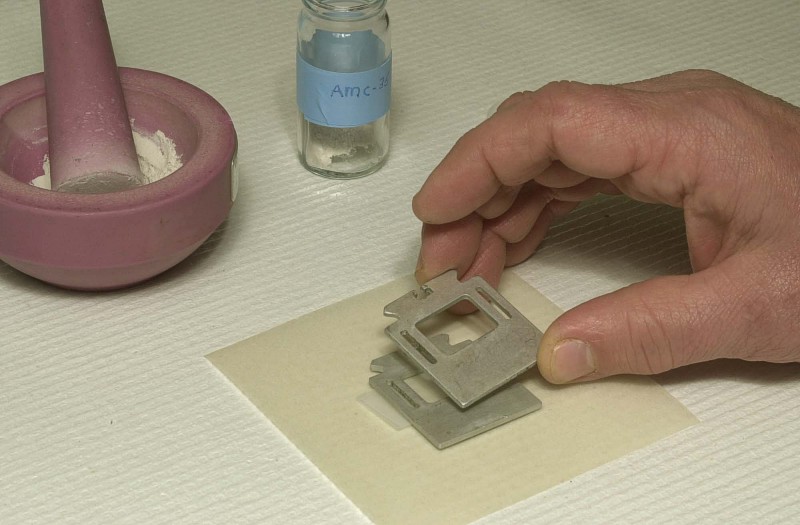 |
| Place the sieve over the sample holder and brush the sample from the mortar. (Note: the sample may become contaminated from the sieve and utensils. These contaminants will not affect the x-ray diffraction analysis, but do not plan to reuse this cut of the sample for sensitive chemical analyses.) | 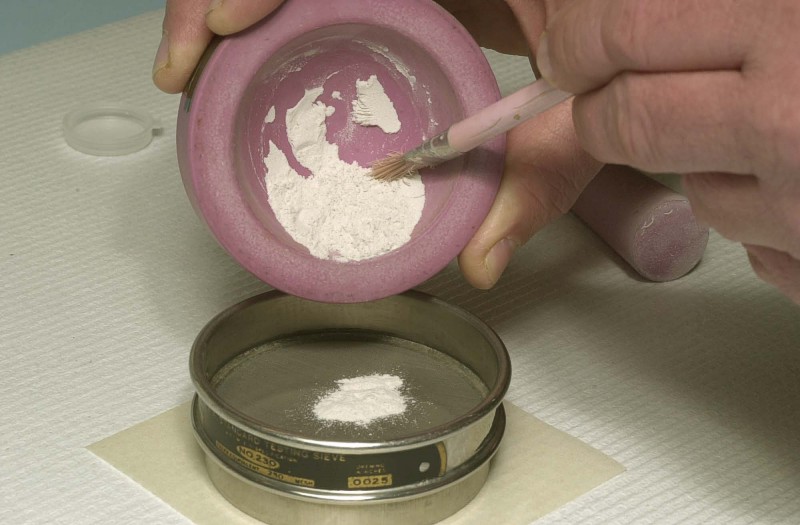 |
| Use the spatula to loosen any sample that has stuck to the mortar and brush the material into the sieve. | 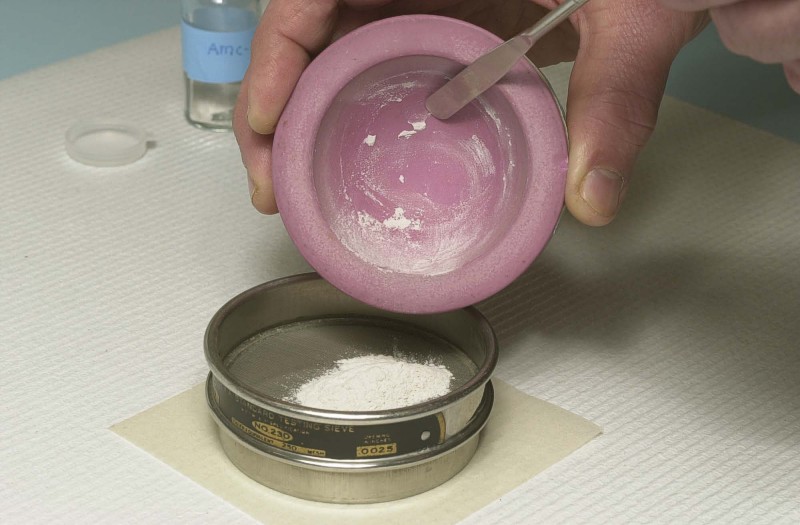 |
| Brush the sample through the sieve into the cavity of the sample holder. The purpose of the brushing is to obtain an even distribution and to minimize preferred orientation of the particles. | 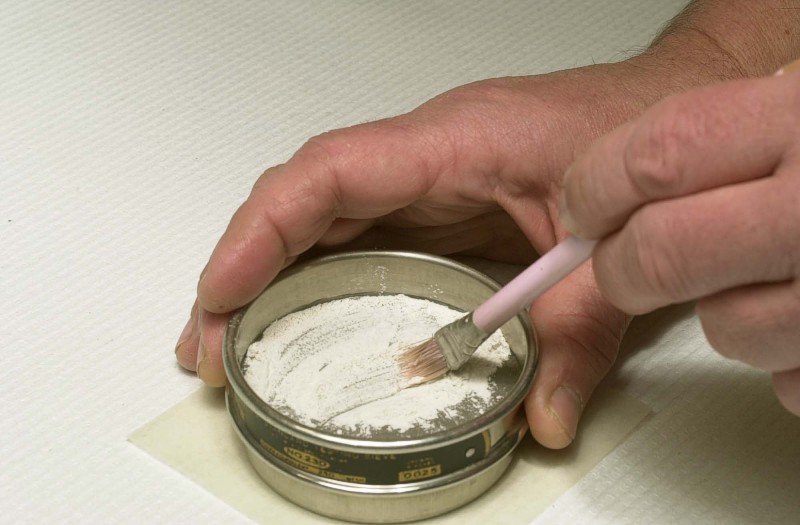 |
| Remove the sieve and mask. | 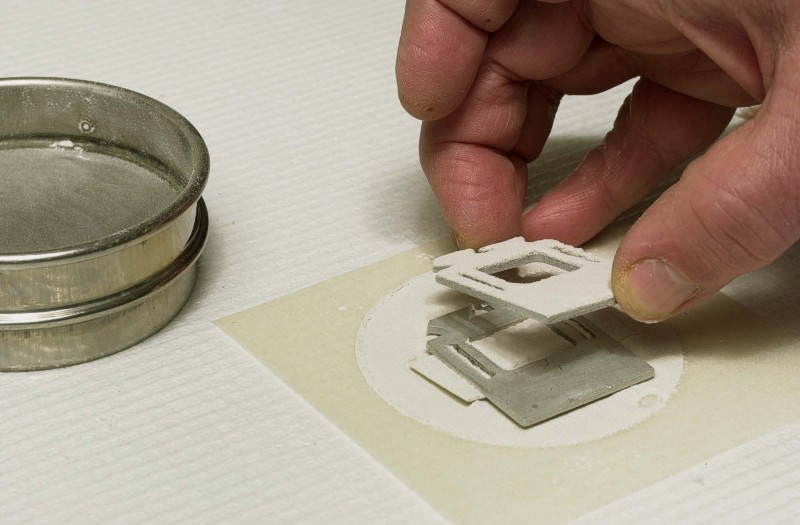 |
| Place the sample holder on a clean piece of weighing paper, tap the powder remaining on the mask onto the first weighing paper, and replace the mask over the sample holder. | 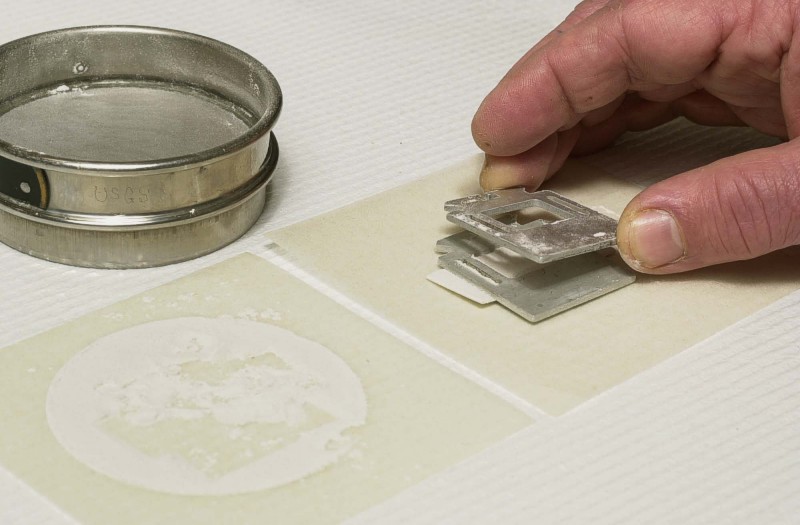 |
| Pour the excess powder onto first weighing paper into the sample holder. Distribute the powder evenly. | 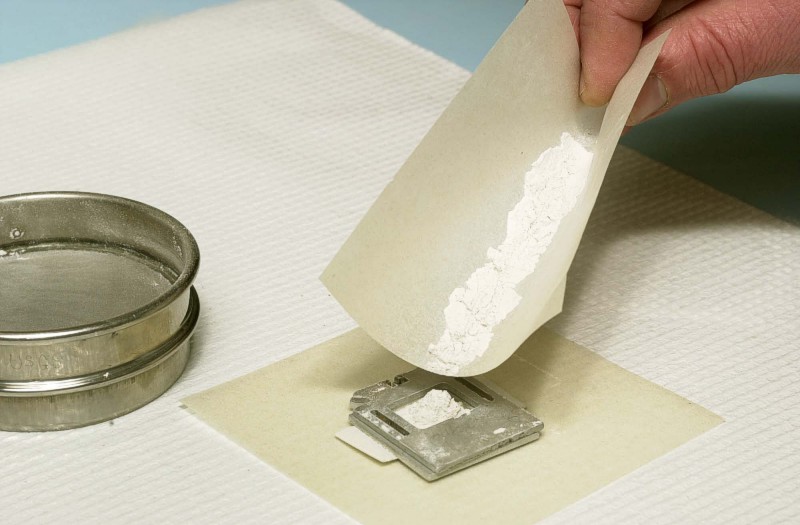 |
| Use a glass slide to pack the sample into the cavity firmly enough so that it will not fall out, deform, or slide, but not so firmly that preferred orientation will be produced on the opposite surface (which will later become the top surface). The glass slide can also be used to scrape any sample that has flattened onto the holder surface during packing back over the holder opening. | 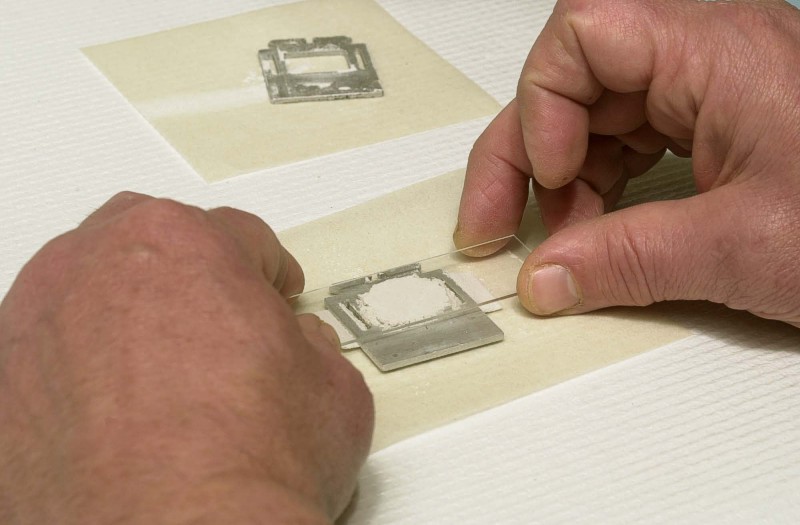 |
| Additional sample can be used as filler if necessary to create a firm pack. This part of the sample need not be as finely ground, as it will become the bottom surface and will not be exposed to the X-ray beam. | 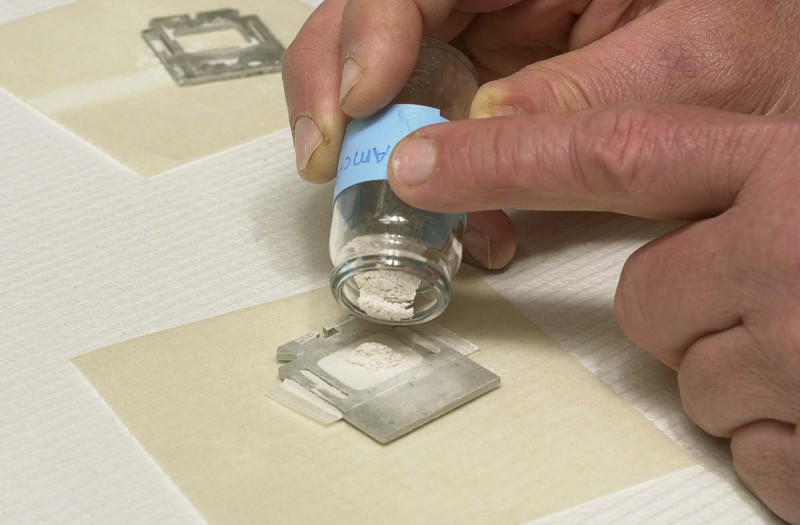 |
| Pack as above and then attach a clip to the back of the holder. Alternately, if a generic holder is being used, another cut glass slide can be attached with tape to cover the holder's opening. | 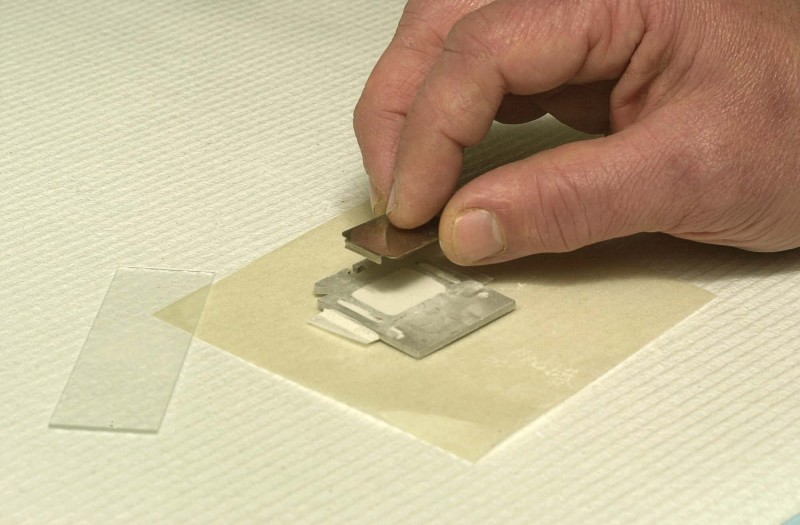 |
| Turn the sample holder over and lift the tab of tape. The glass cover is carefully lifted with a slight twisting motion to break and surface adhesion. This will be the surface exposed to the X-rays. It should be smooth, uniform, and flush with the metal surface of the holder. If not remake the mount. | 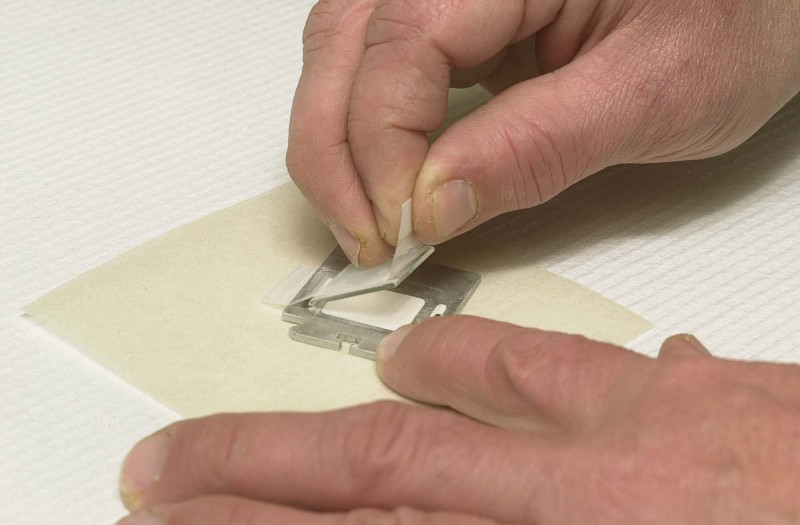 |
| Label the sample holder with the pencil. | 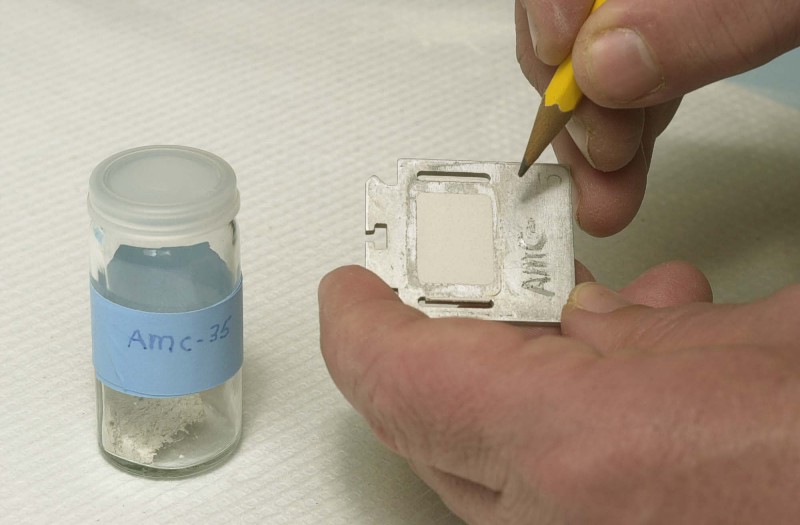 |