| |
|
|
Materials
Required:
|
 |
|
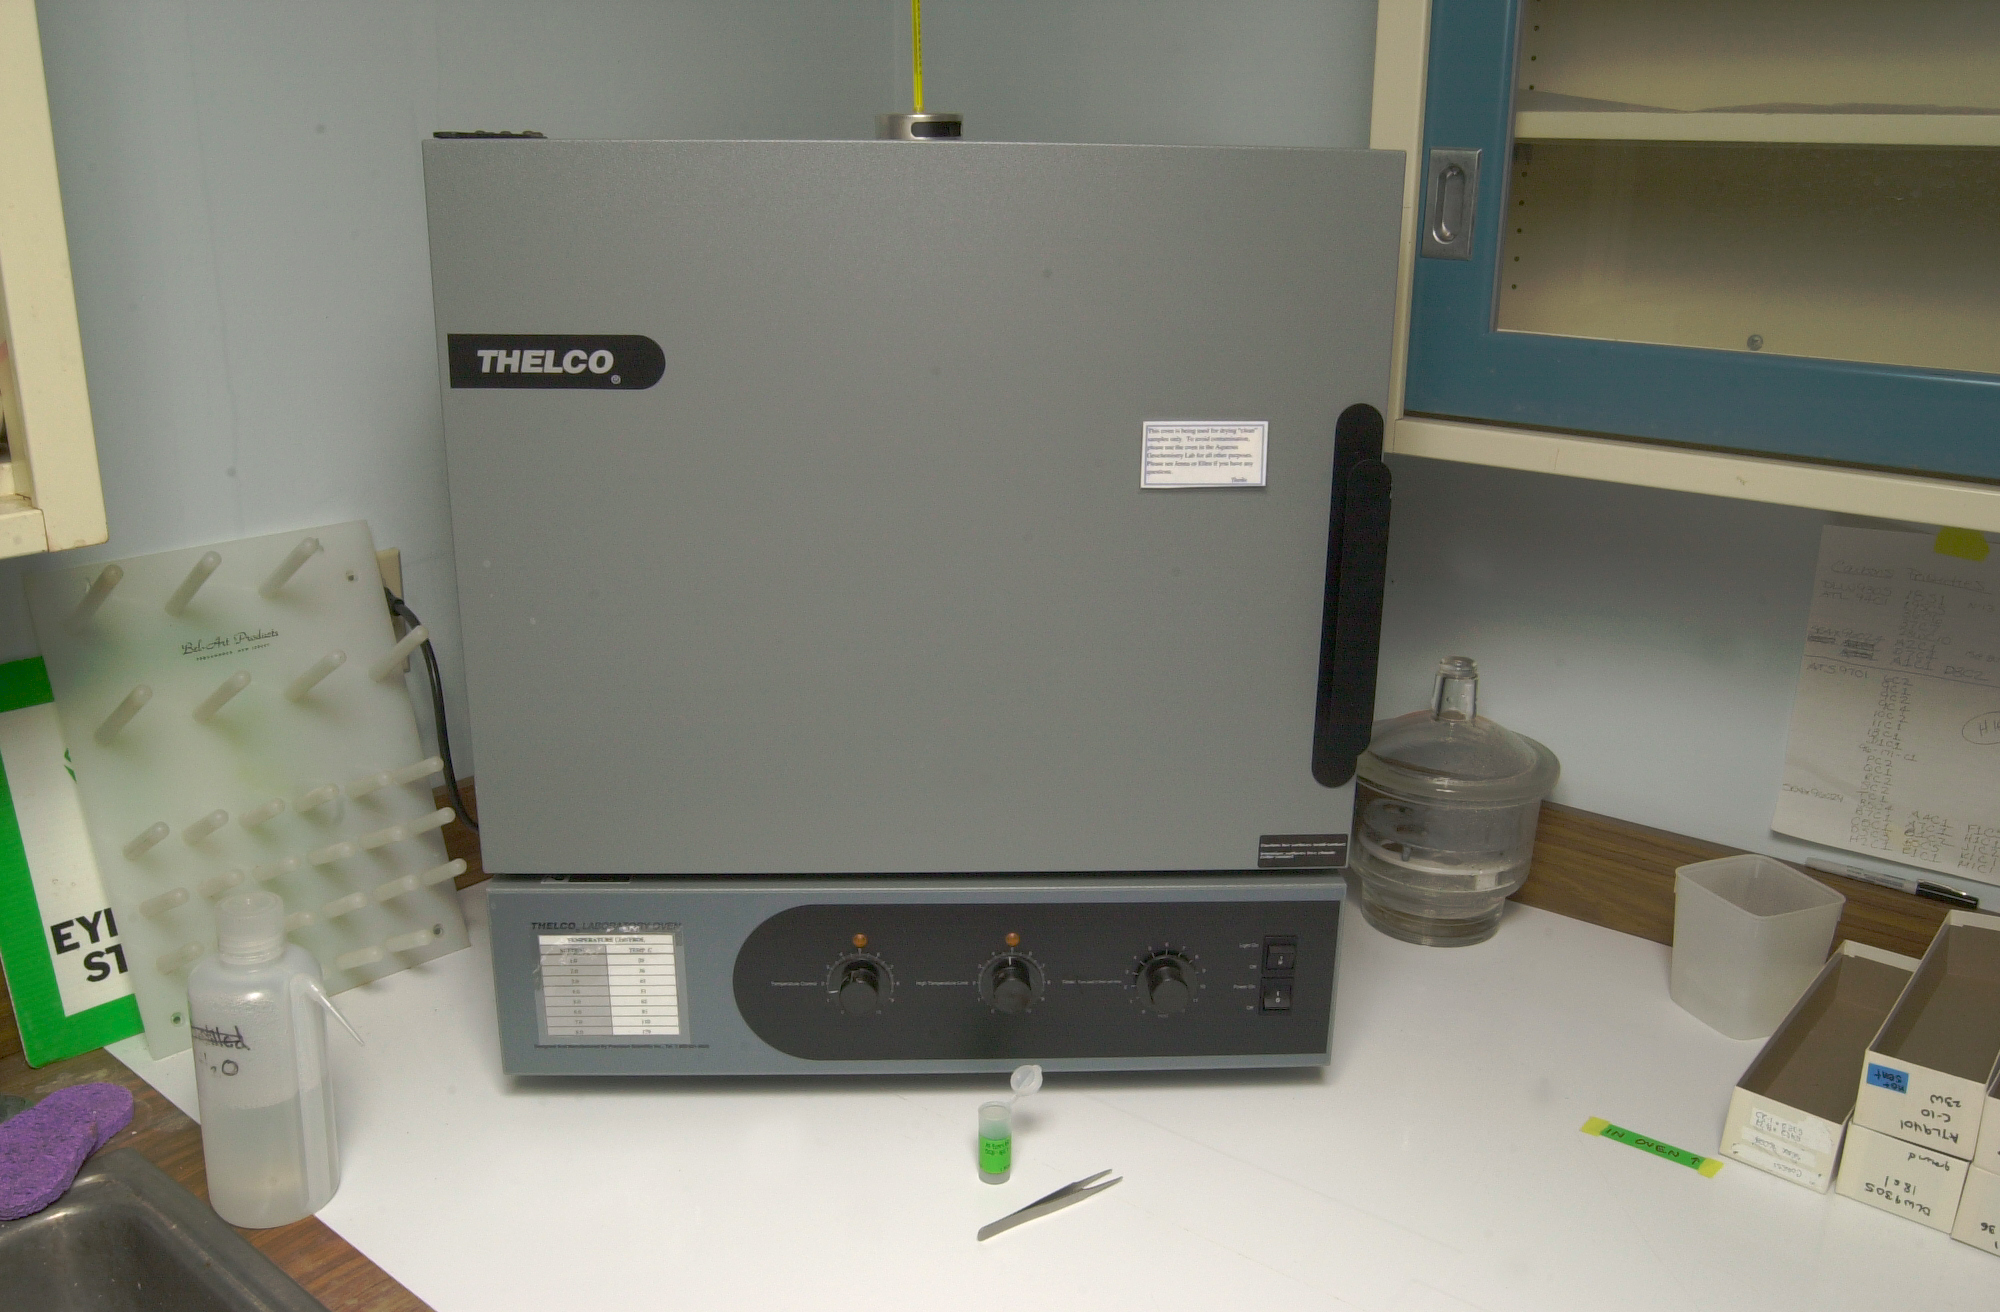
Several ovens are available
for use:
Check contents of oven with other users before placing new items in it to avoid cross-contamination to open vessels. Remove top from sample container. |
 |
|
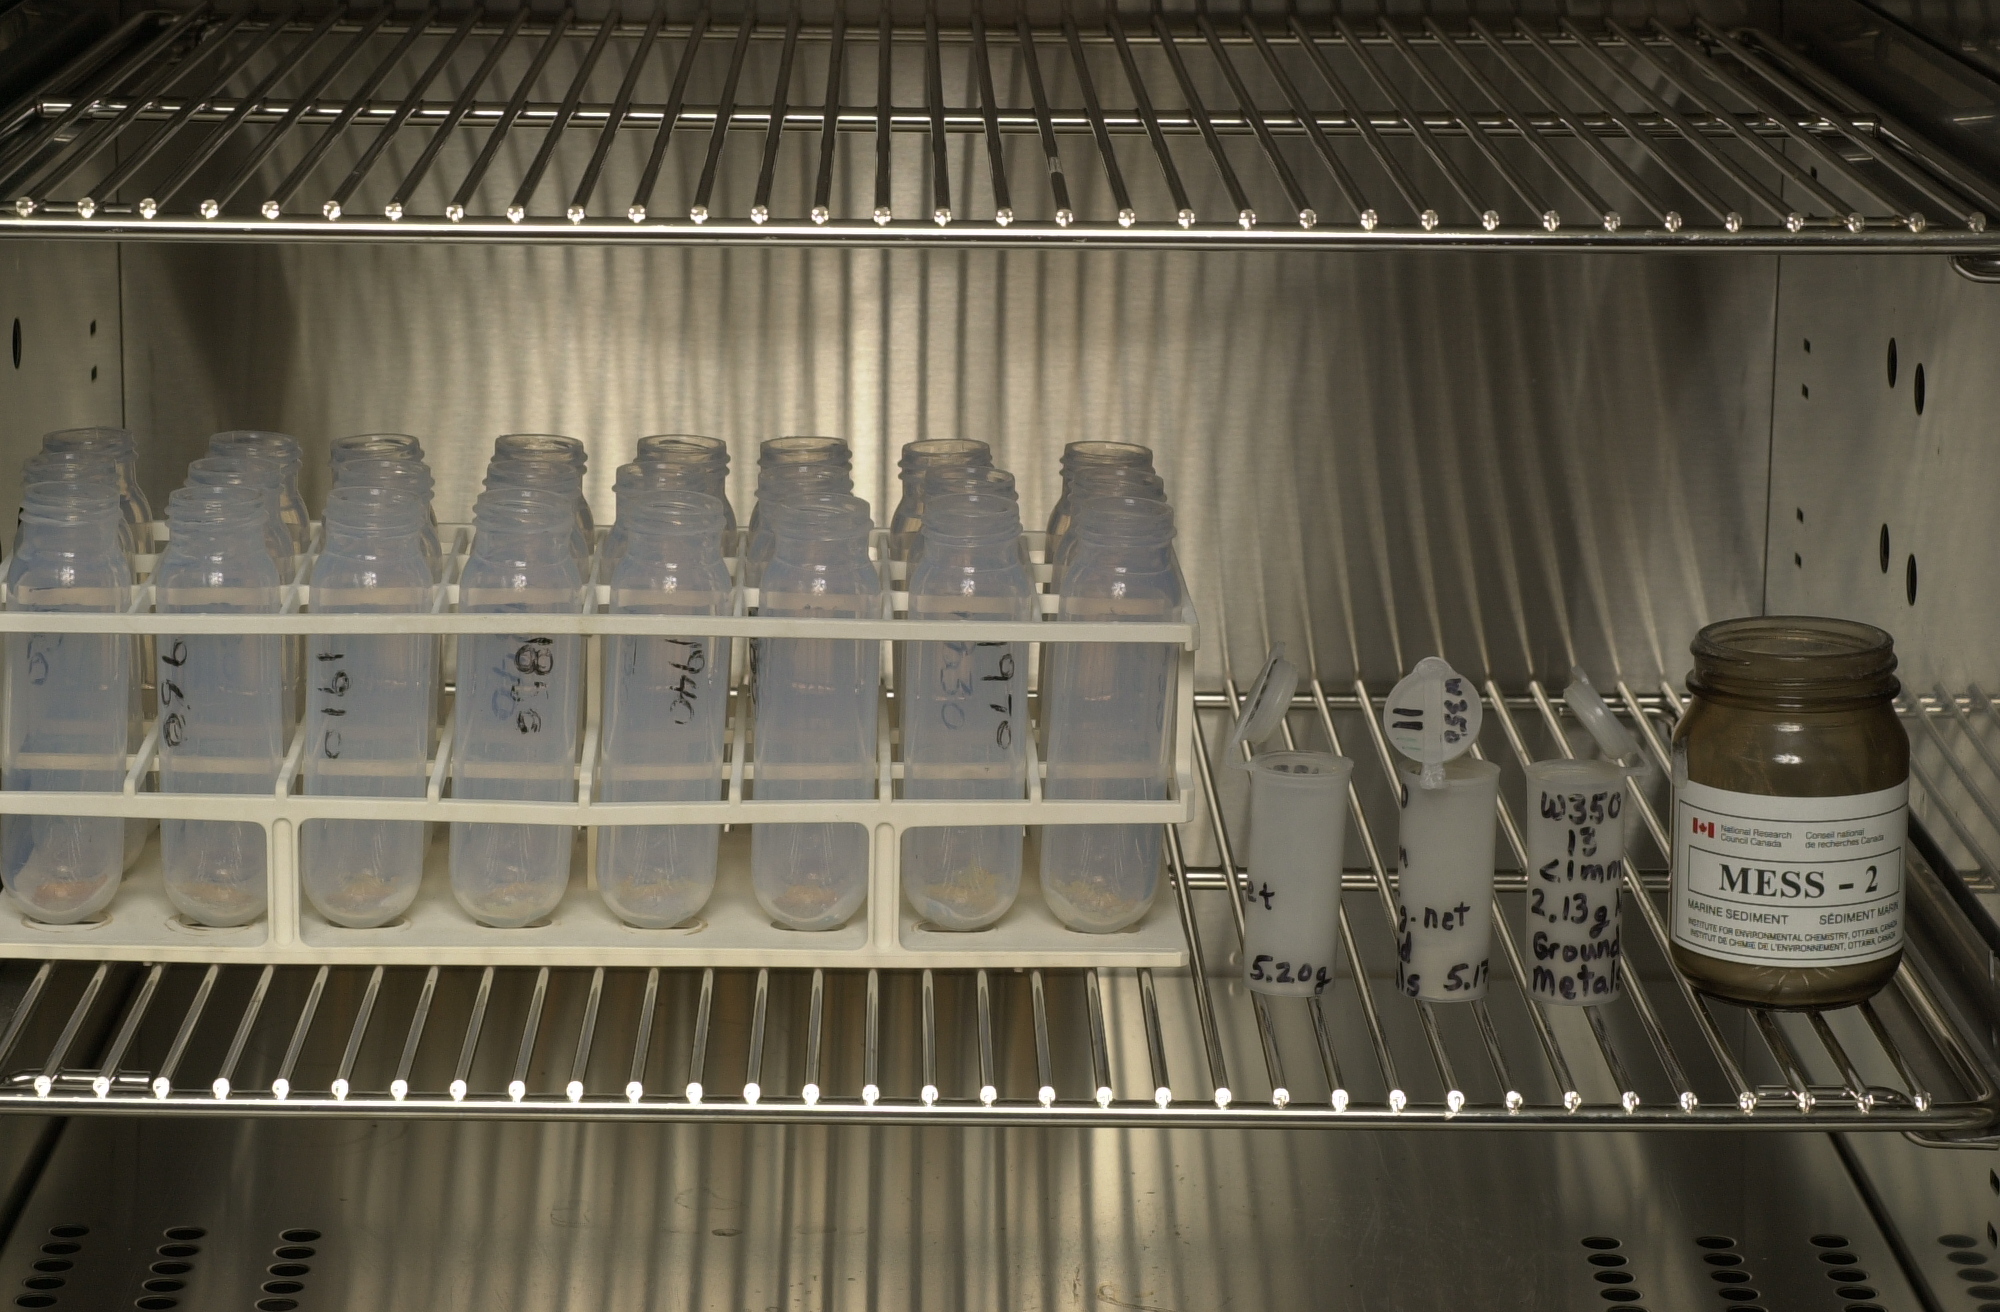
Place samples in oven at 60 degrees F for at least 24 hours or until cracks appear in sediment. Check oven door to make sure it latches. |
 |
|
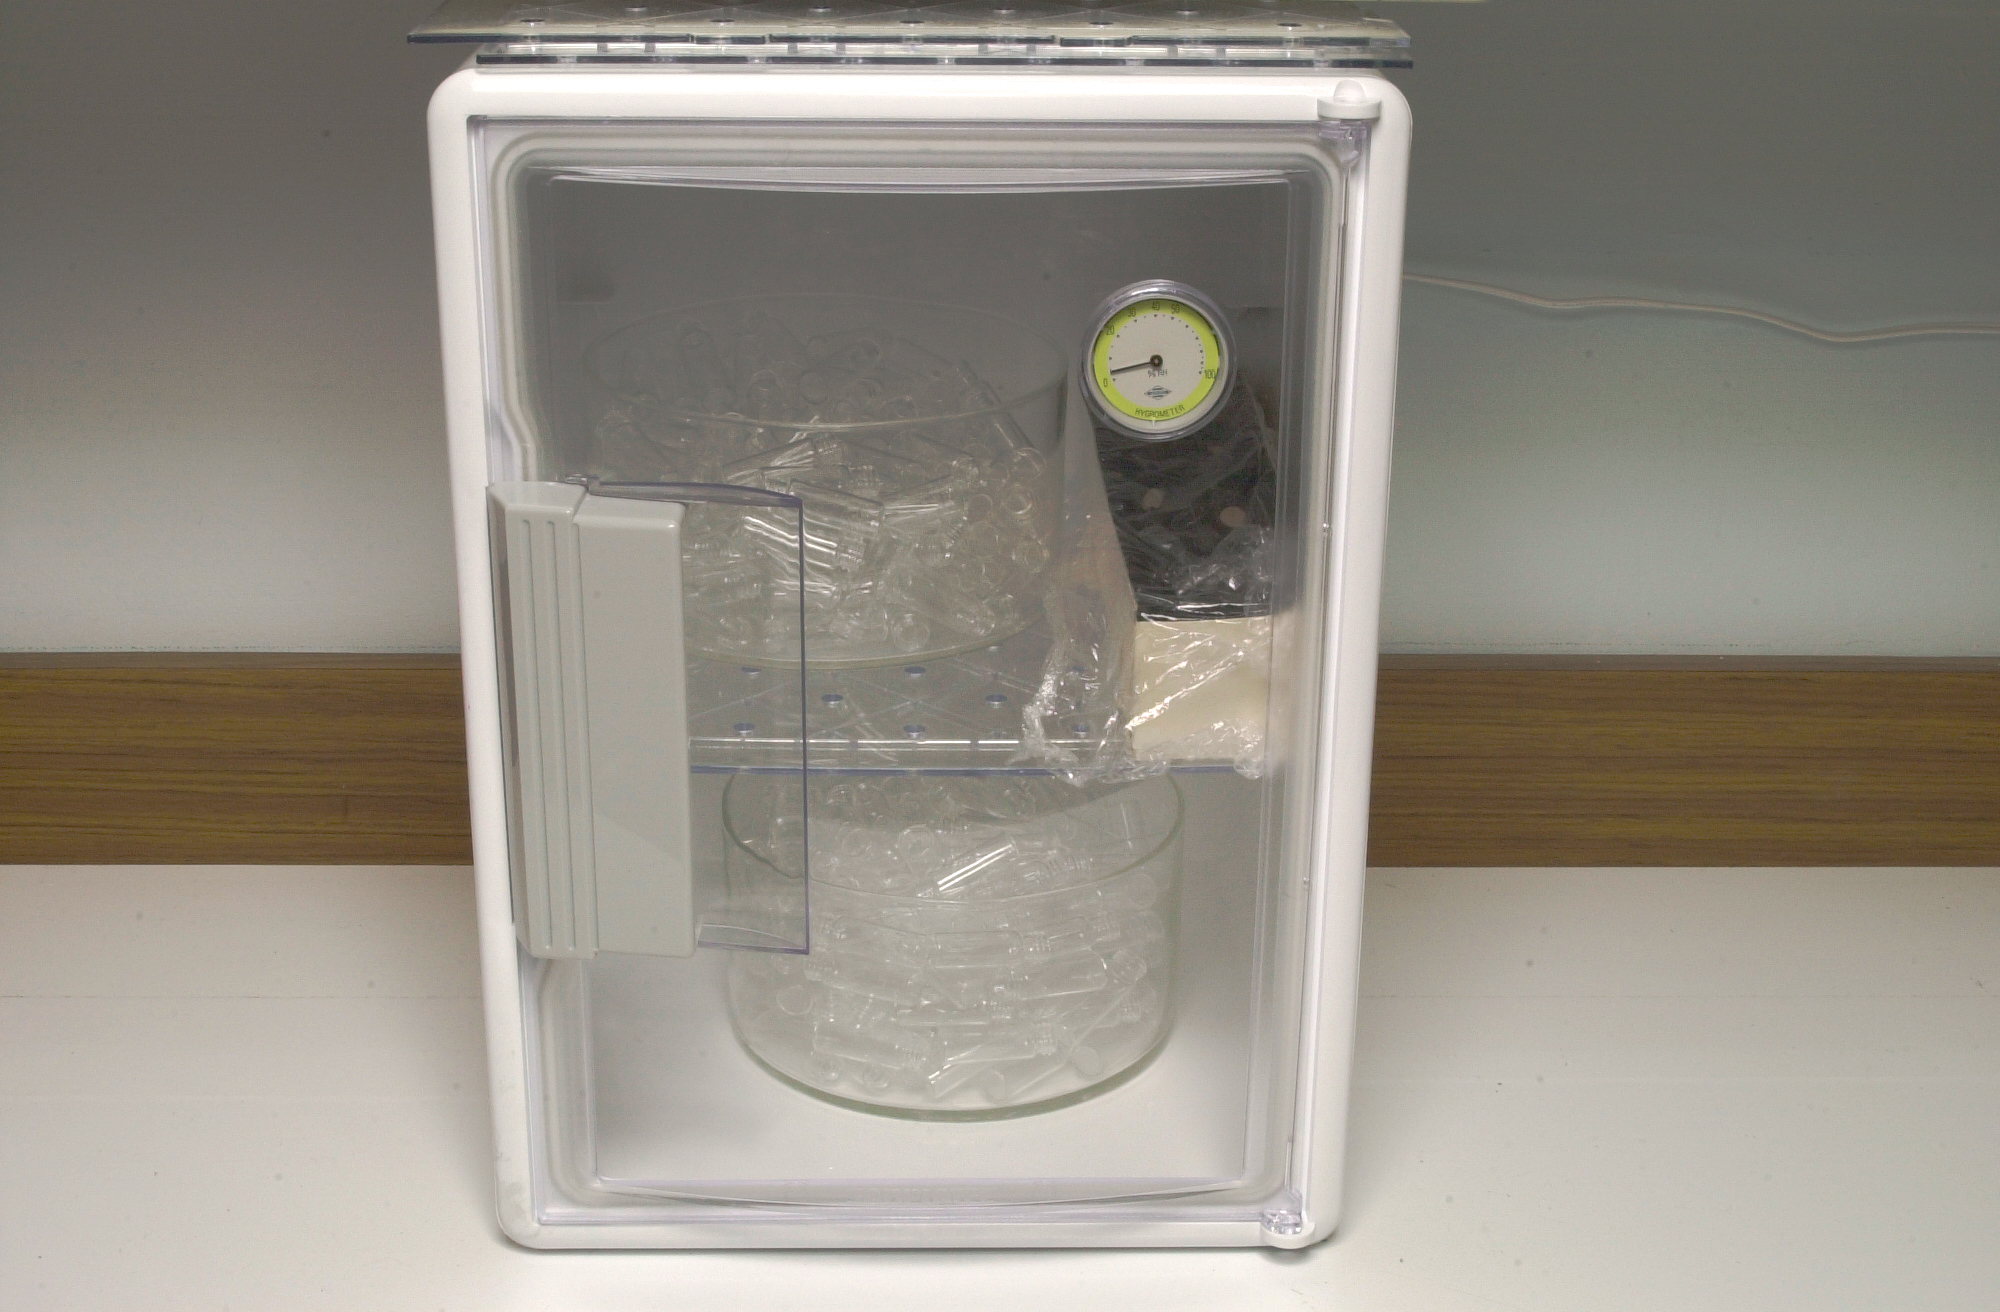
Place samples in desiccator when removed from oven to cool and to avoid getting moisture from the air in your samples. Weigh samples on a balance to get the dry weight. |
 |
Materials Required:
|
 |
|
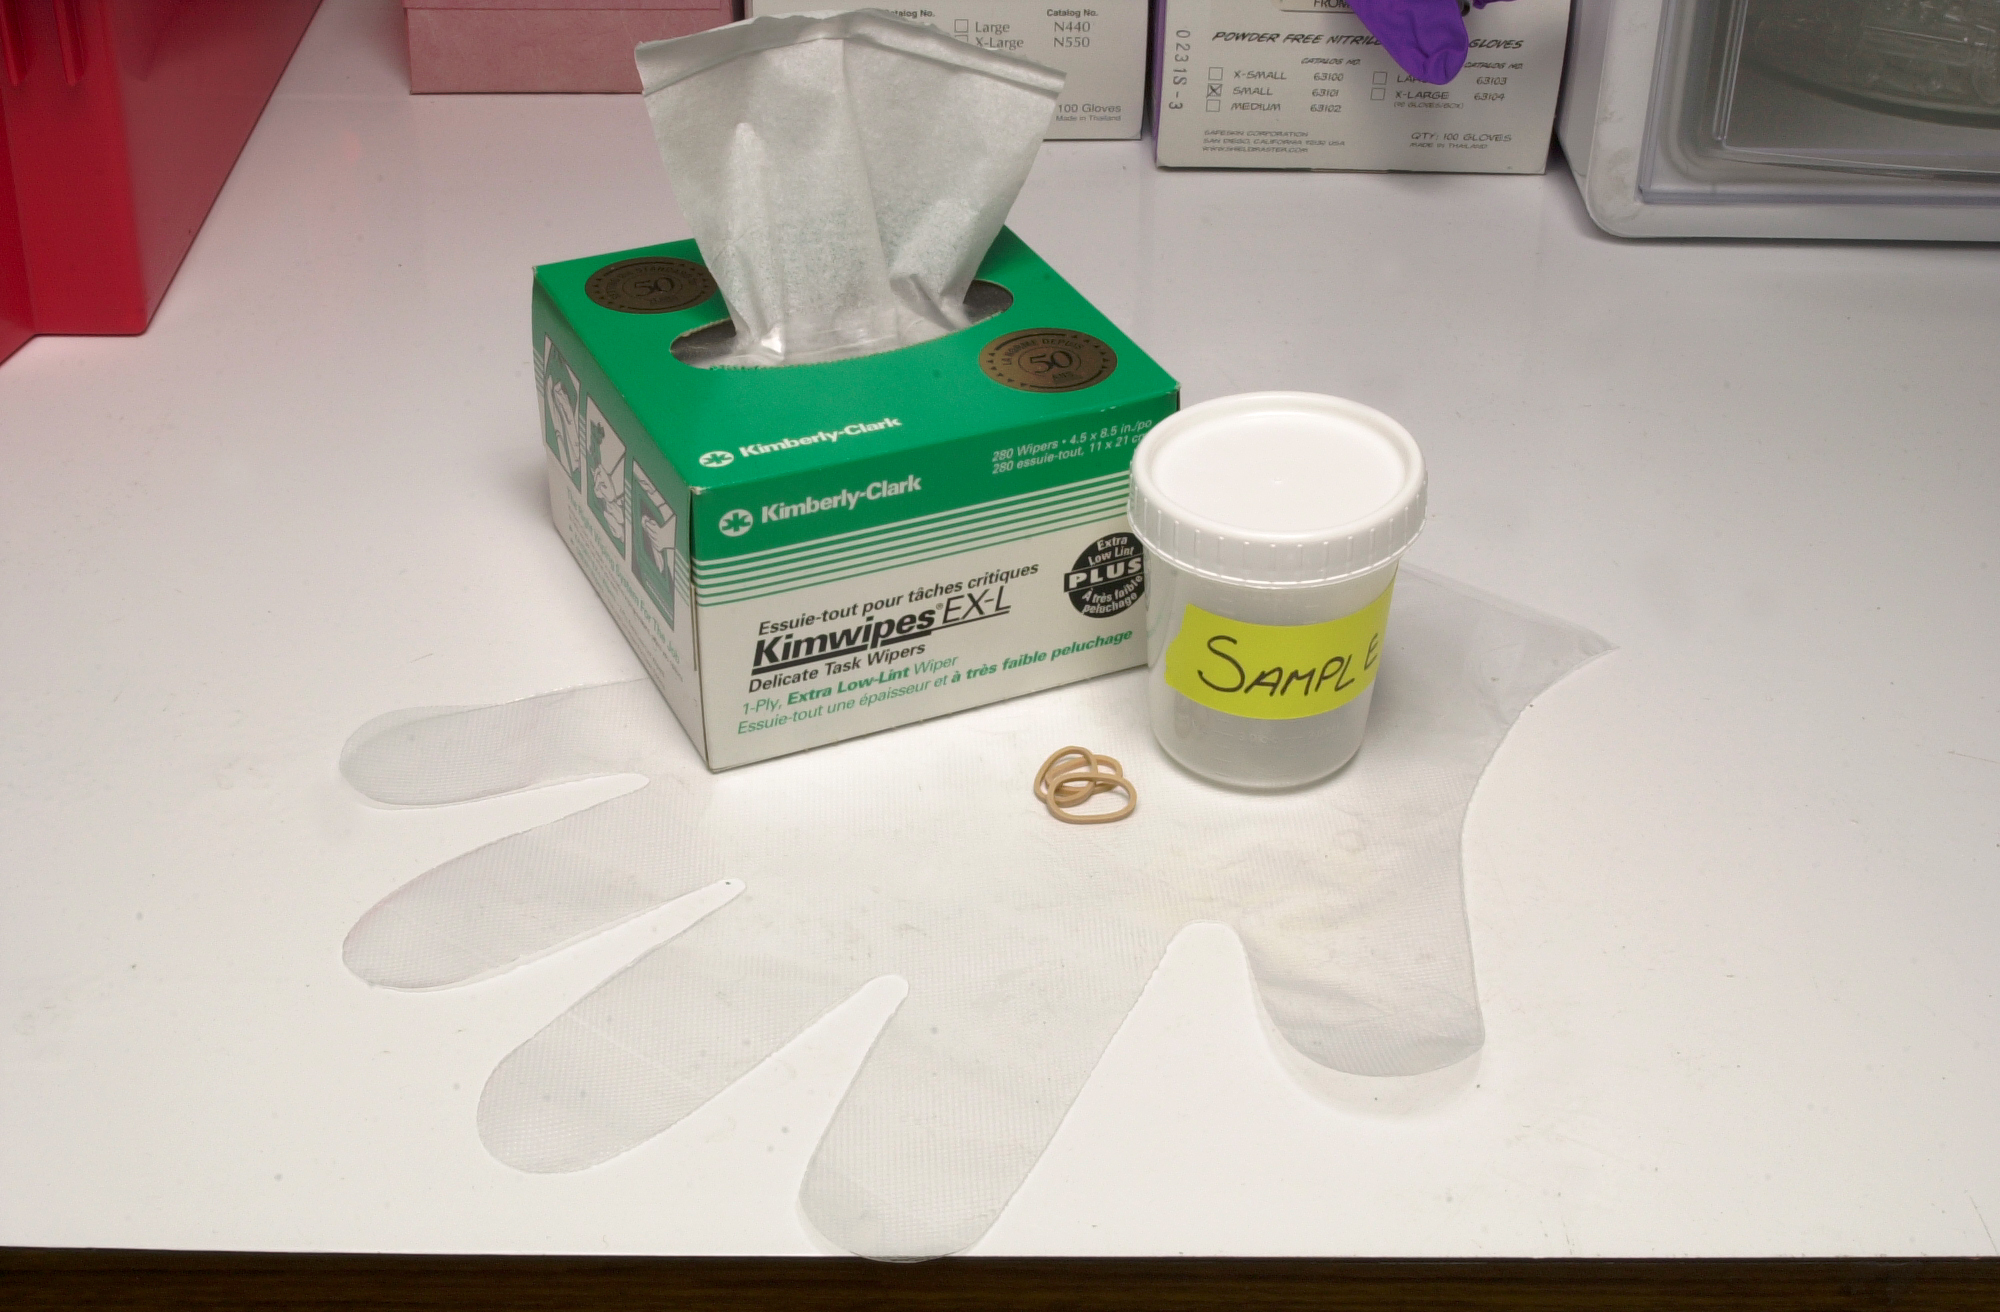
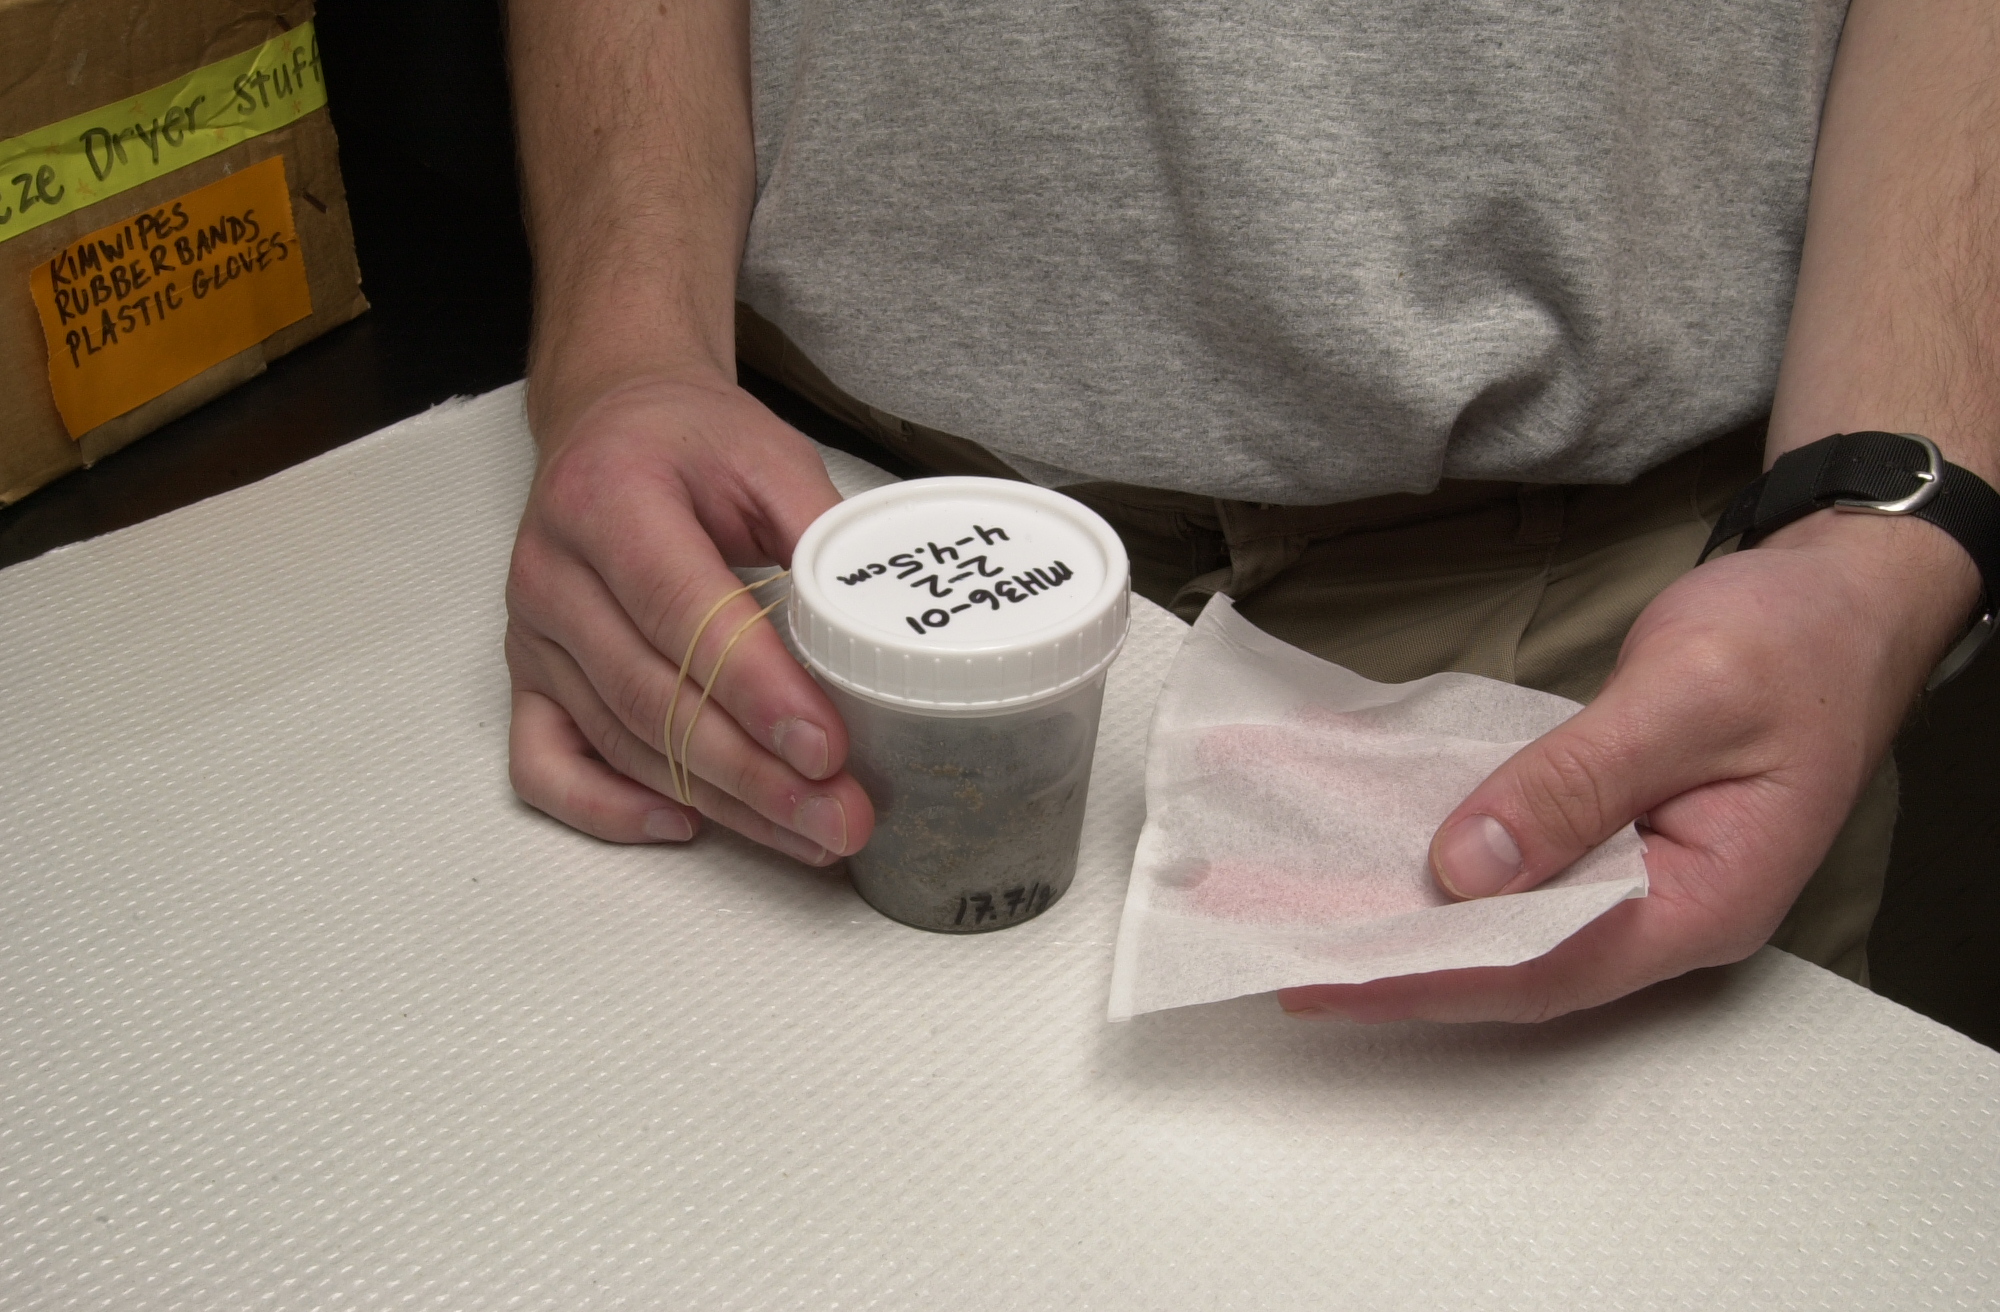
After core cutting, samples are frozen and put into storage. When ready to analyse, locate samples in storage and wipe sides of sample container with a Kimwipe so there is no frost. |
 |
|
Place container lid in a plastic glove so there is no contamination of sediment on the lid. Rip a Kimwipe so 1 layer fits on mouth of sample container. Place Kimwipe on sample and secure with a rubber band. |
 |
Materials Required:
|
 |
|
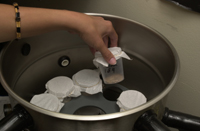
Weigh the samples to determine which one is the heaviest and record the weights in a notebook. Mark the heaviest sample with a Sharpie on the Kimwipe to use as a standard to compare the freezing progress of the other samples. Place a stack of containers in the freeze dryer using the racks provided. If the heaviest sample is completely freeze dried, then the others will be. |
 |
|
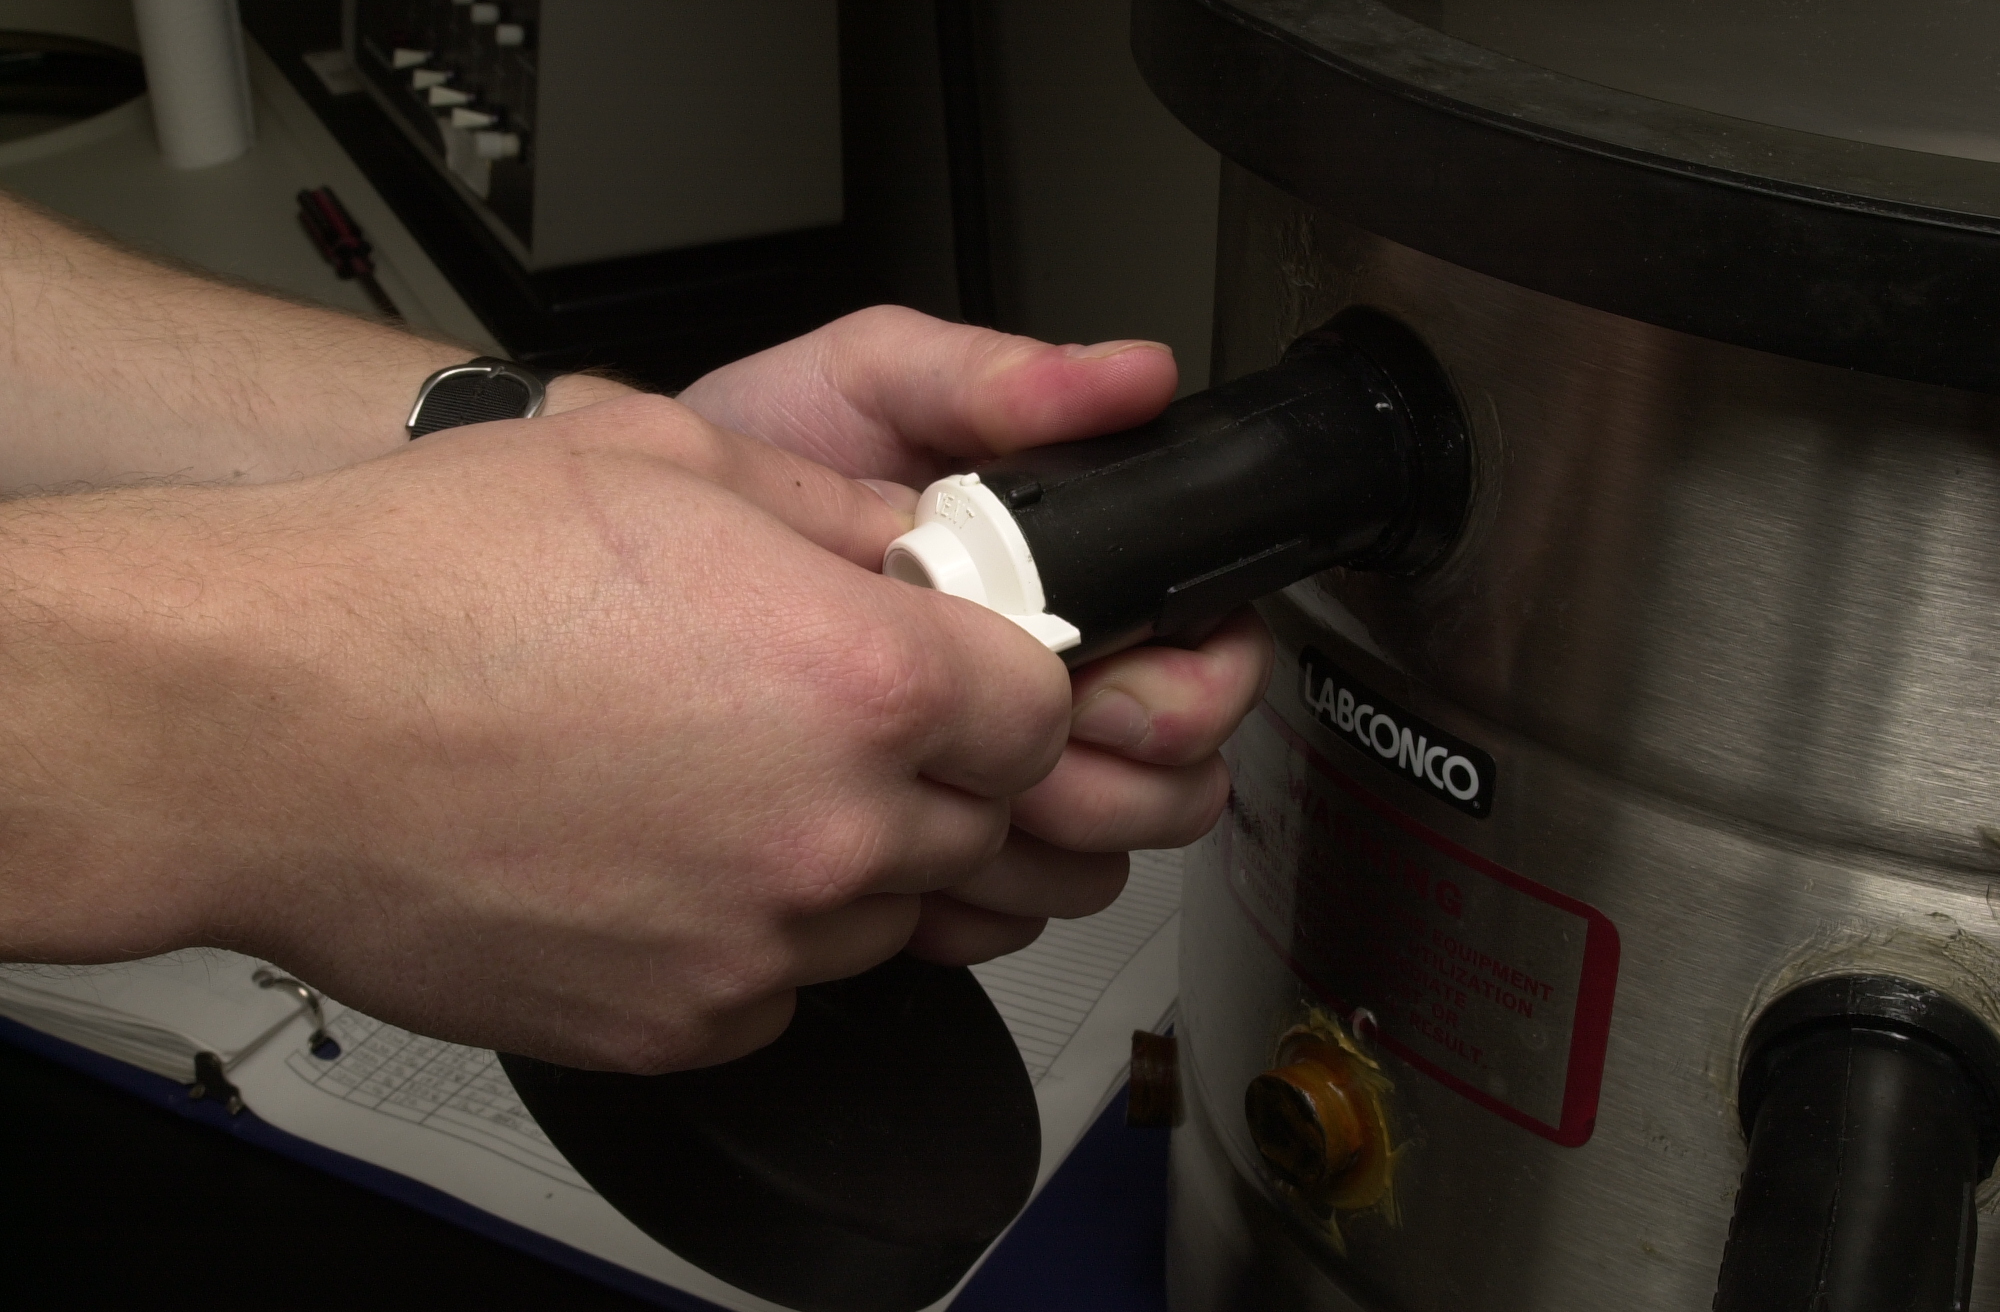
Remove attachable jars, or, if necessary, place samples in the jars. For exterior jars, if removed
you must seal the vacuum. |
 |
|
Turn the white knob to vent
if there is no jar attached. Turn the white knob to vac if there is a jar attached. |
 |
|
Check the vacuum pump oil level. Start the machine by pushing the Refrigeration button ON to Man. Vac. (Manual Vacuum). Once the temperature reaches -40 degrees C, turn the vacuum on by pushing the Vacuum button up to the ON position. You will see the word "HI" for high temperature displayed in the window. Once numbers start appearing, you should check it periodically to make sure the numbers are decreasing. The system is functioning properly when the number drops to 200 millibars or below. Record the pressure and temperature in the notebook and watch periodically for 3 days until all samples are frozen. Remove samples from machine and remove the caps immediately so you can weigh the sample immediately. |
|
|
To shut down after use: Push buttons to OFF position, leave the lid open to vent, drain the water out into a basin, and dry the inside coils with paper towels. Turn the Defrost button ON to help speed the process. |
 |
| |
 Return
to Index
Return
to Index |