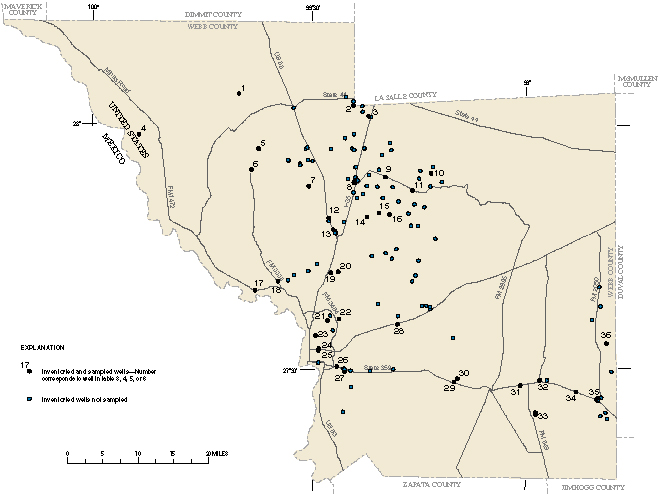
Figure 2.
Location of inventoried and sampled wells.
Back to Contents
|
Back to Text
|
Figure 3