
| |
|
|
CHANGING A GAS TANK |
|
Materials Required:
|
 |
|
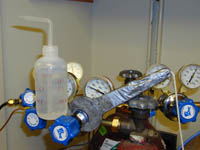
Turn off the gas (clockwise) using the main silver valve and purge the gas to let the gas lines all bleed out until both pounds per square inch (psi) readings are zero - takes a few seconds. |
 |
|
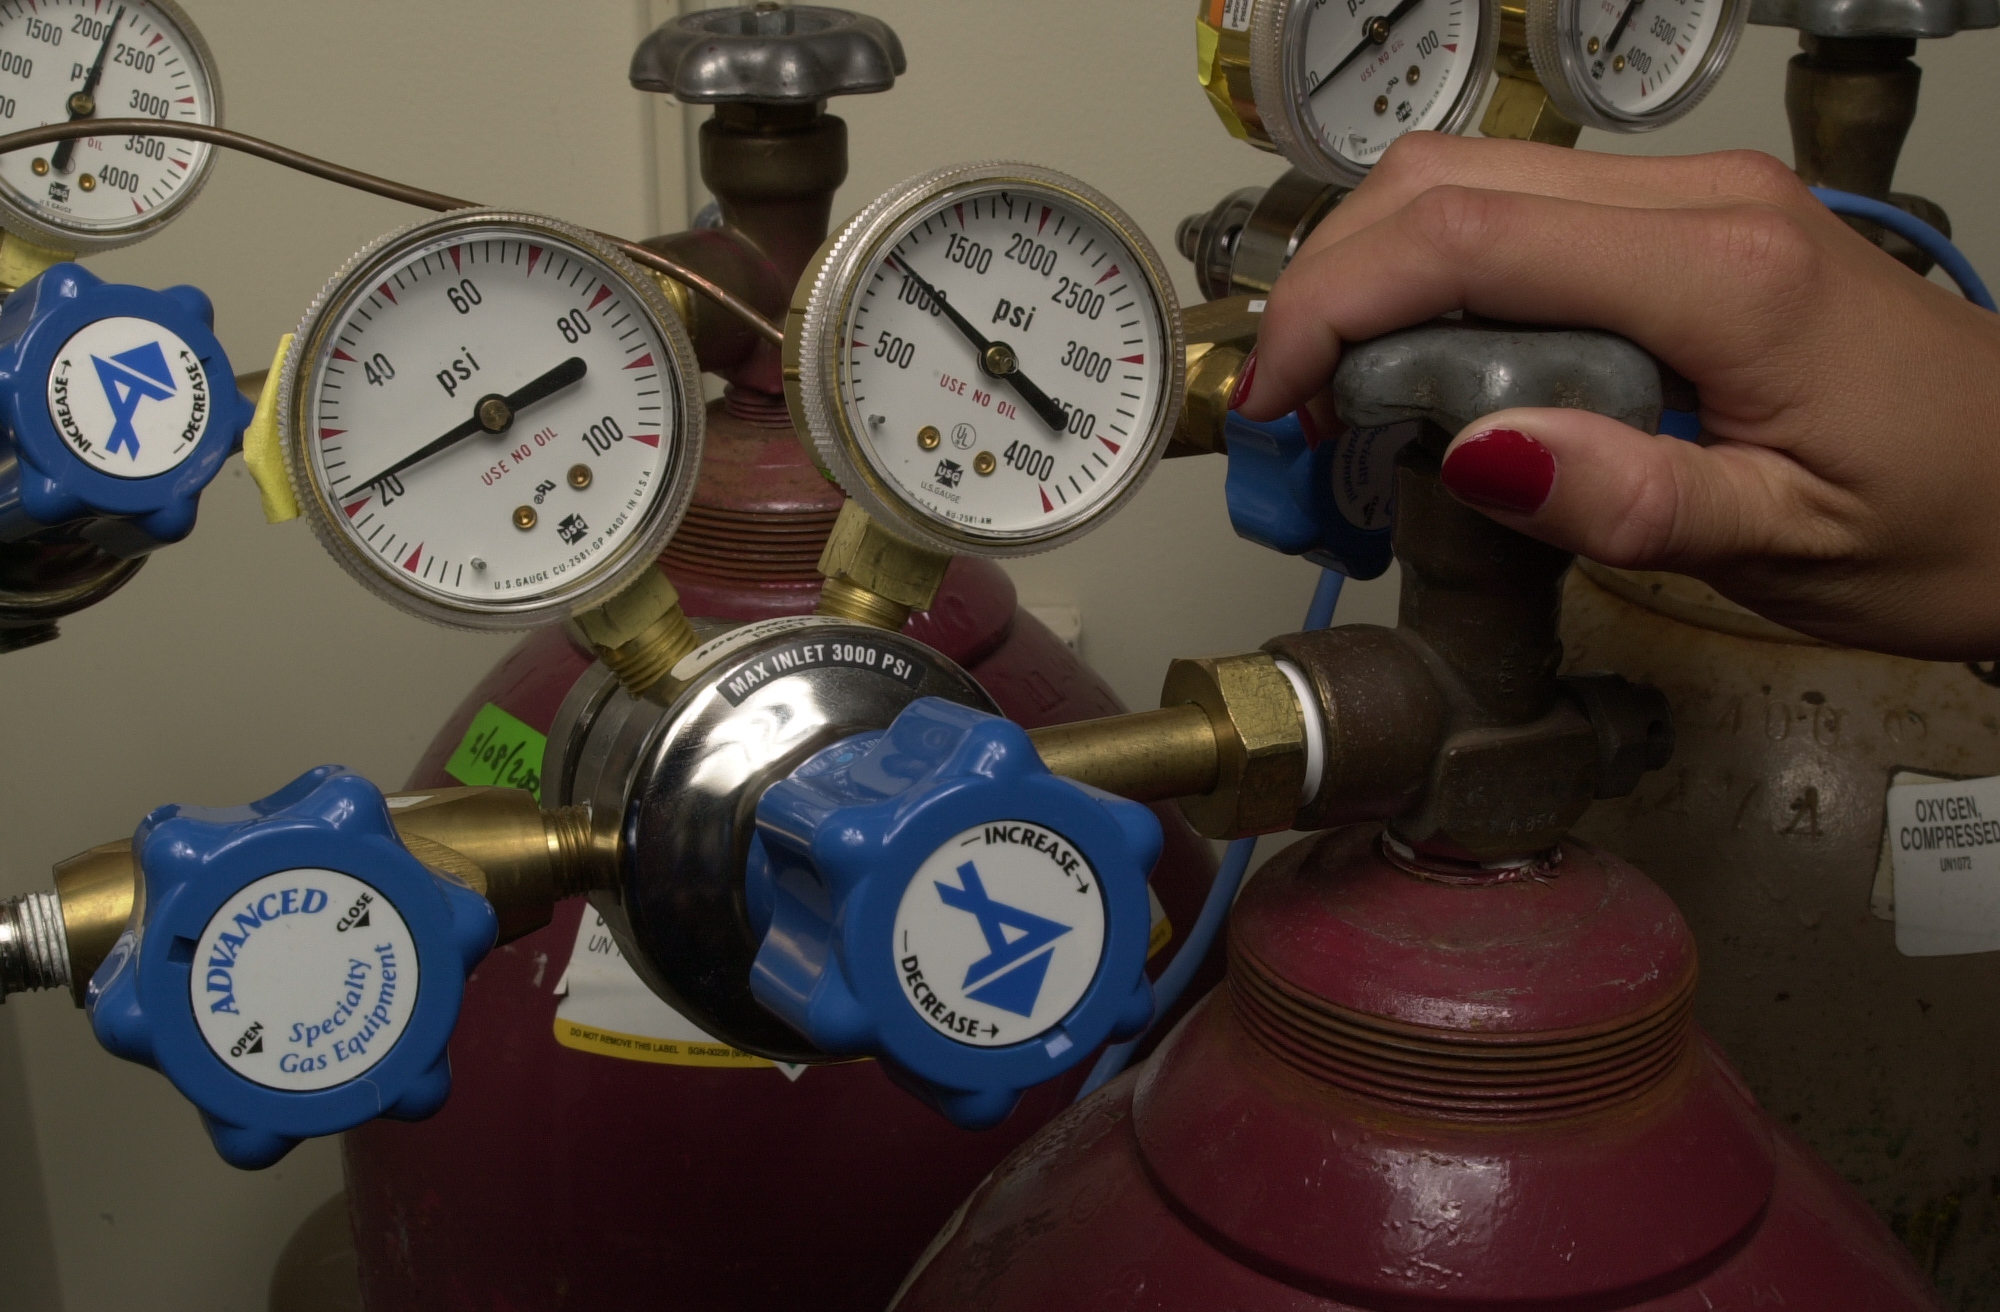
Use wrench to loosen nut and remove the regulator - be careful not to bend the copper connection wire. Carefully roll away the
spent cylinder and roll in the full cylinder - replace cap to spent
cylinder and order new cylinders as needed. Replace the regulator on the new cylinder and tighten nut with wrench - do NOT use teflon tape. |
 |
|
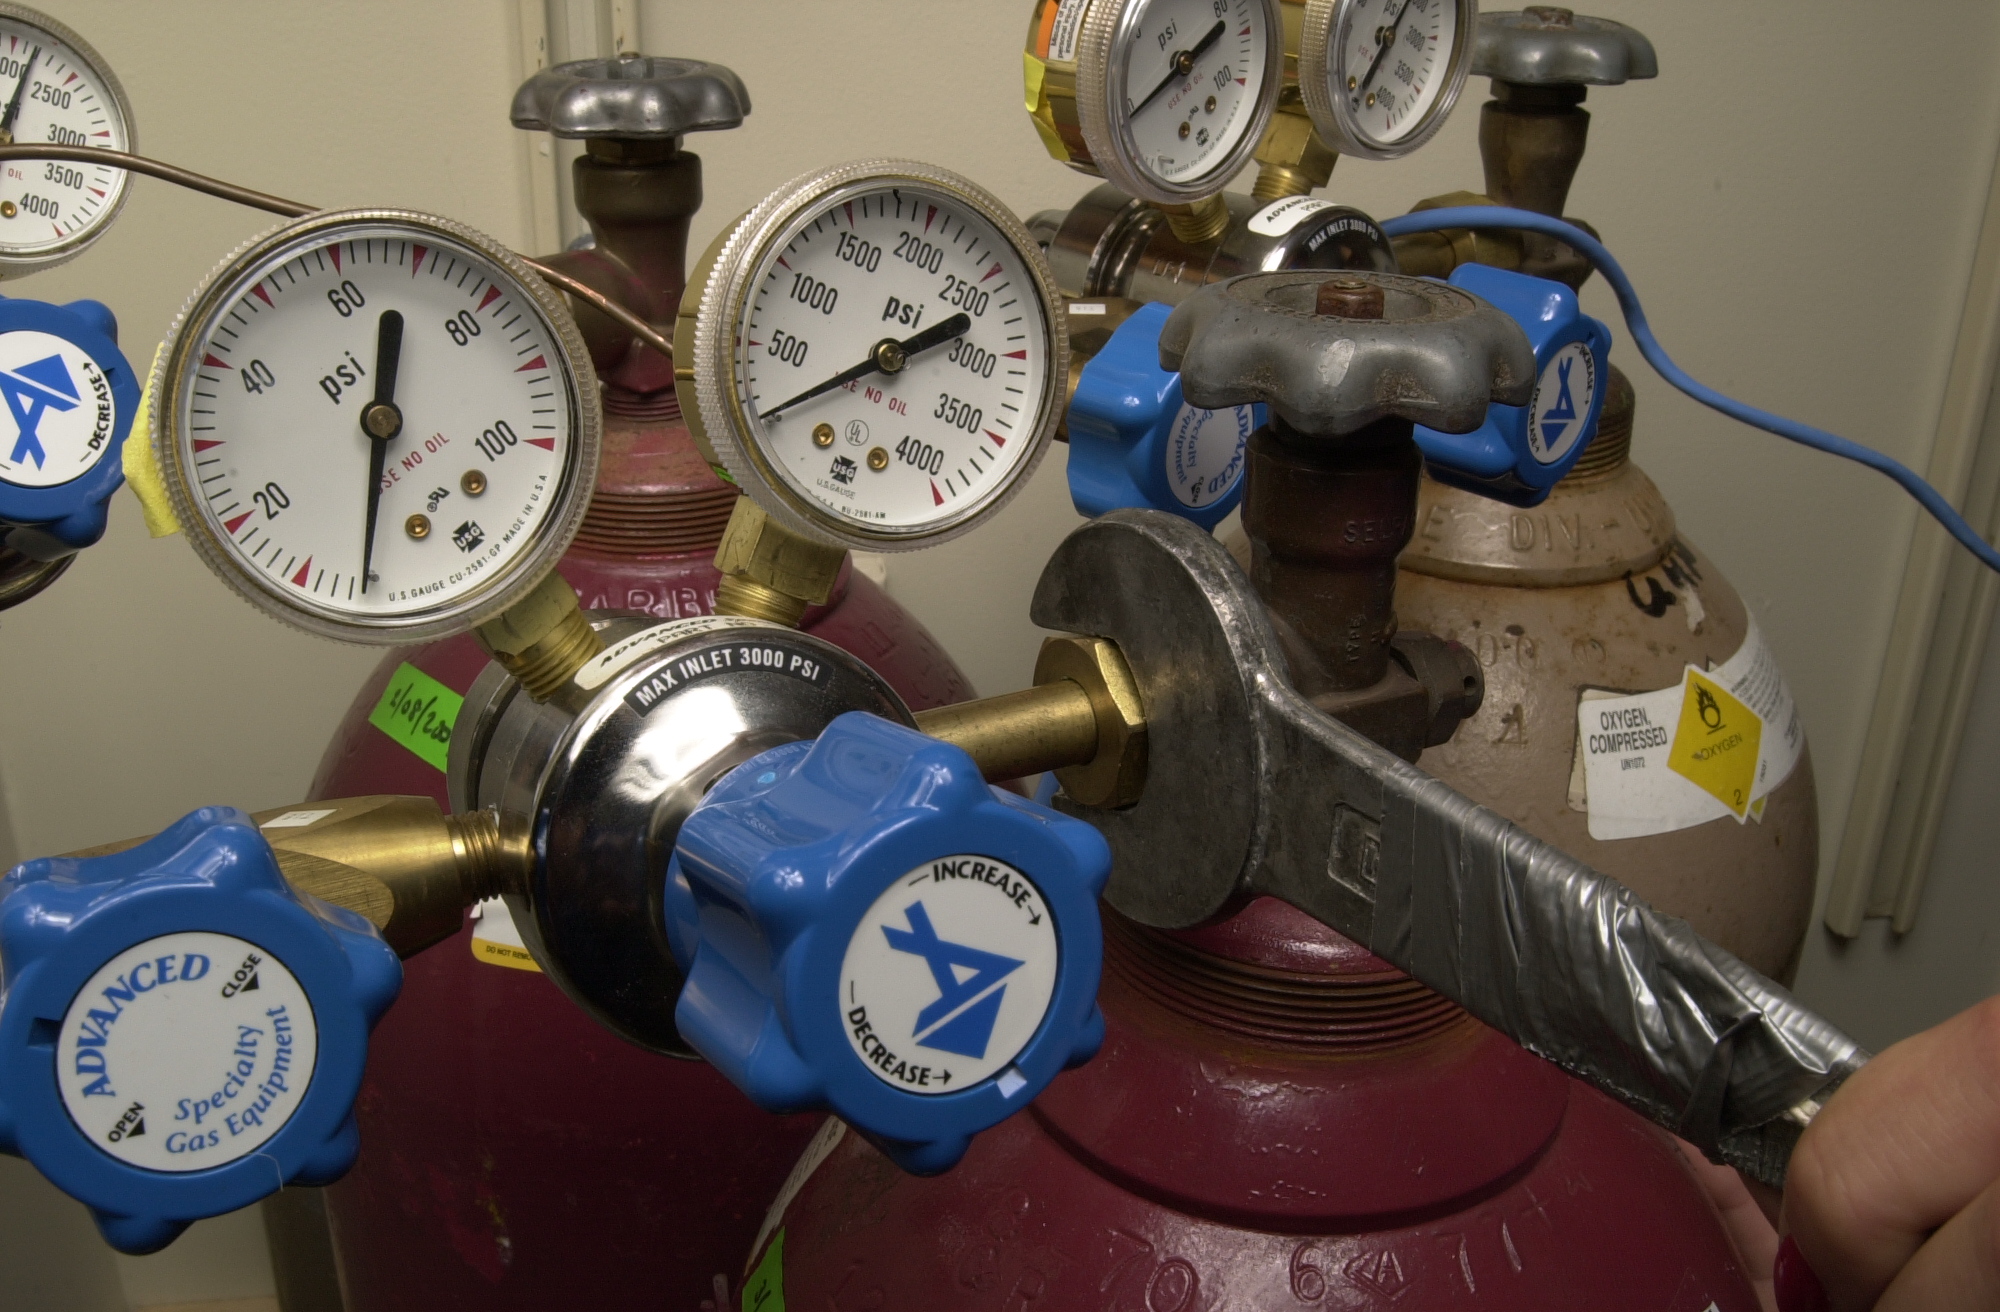
Check for leaks around the regulator connection using Leak Detection Compound - if you see bubbles there is a leak and the regulator should be tightened. Turn the gas on (counter clockwise) using the main silver valve. |
 |
|
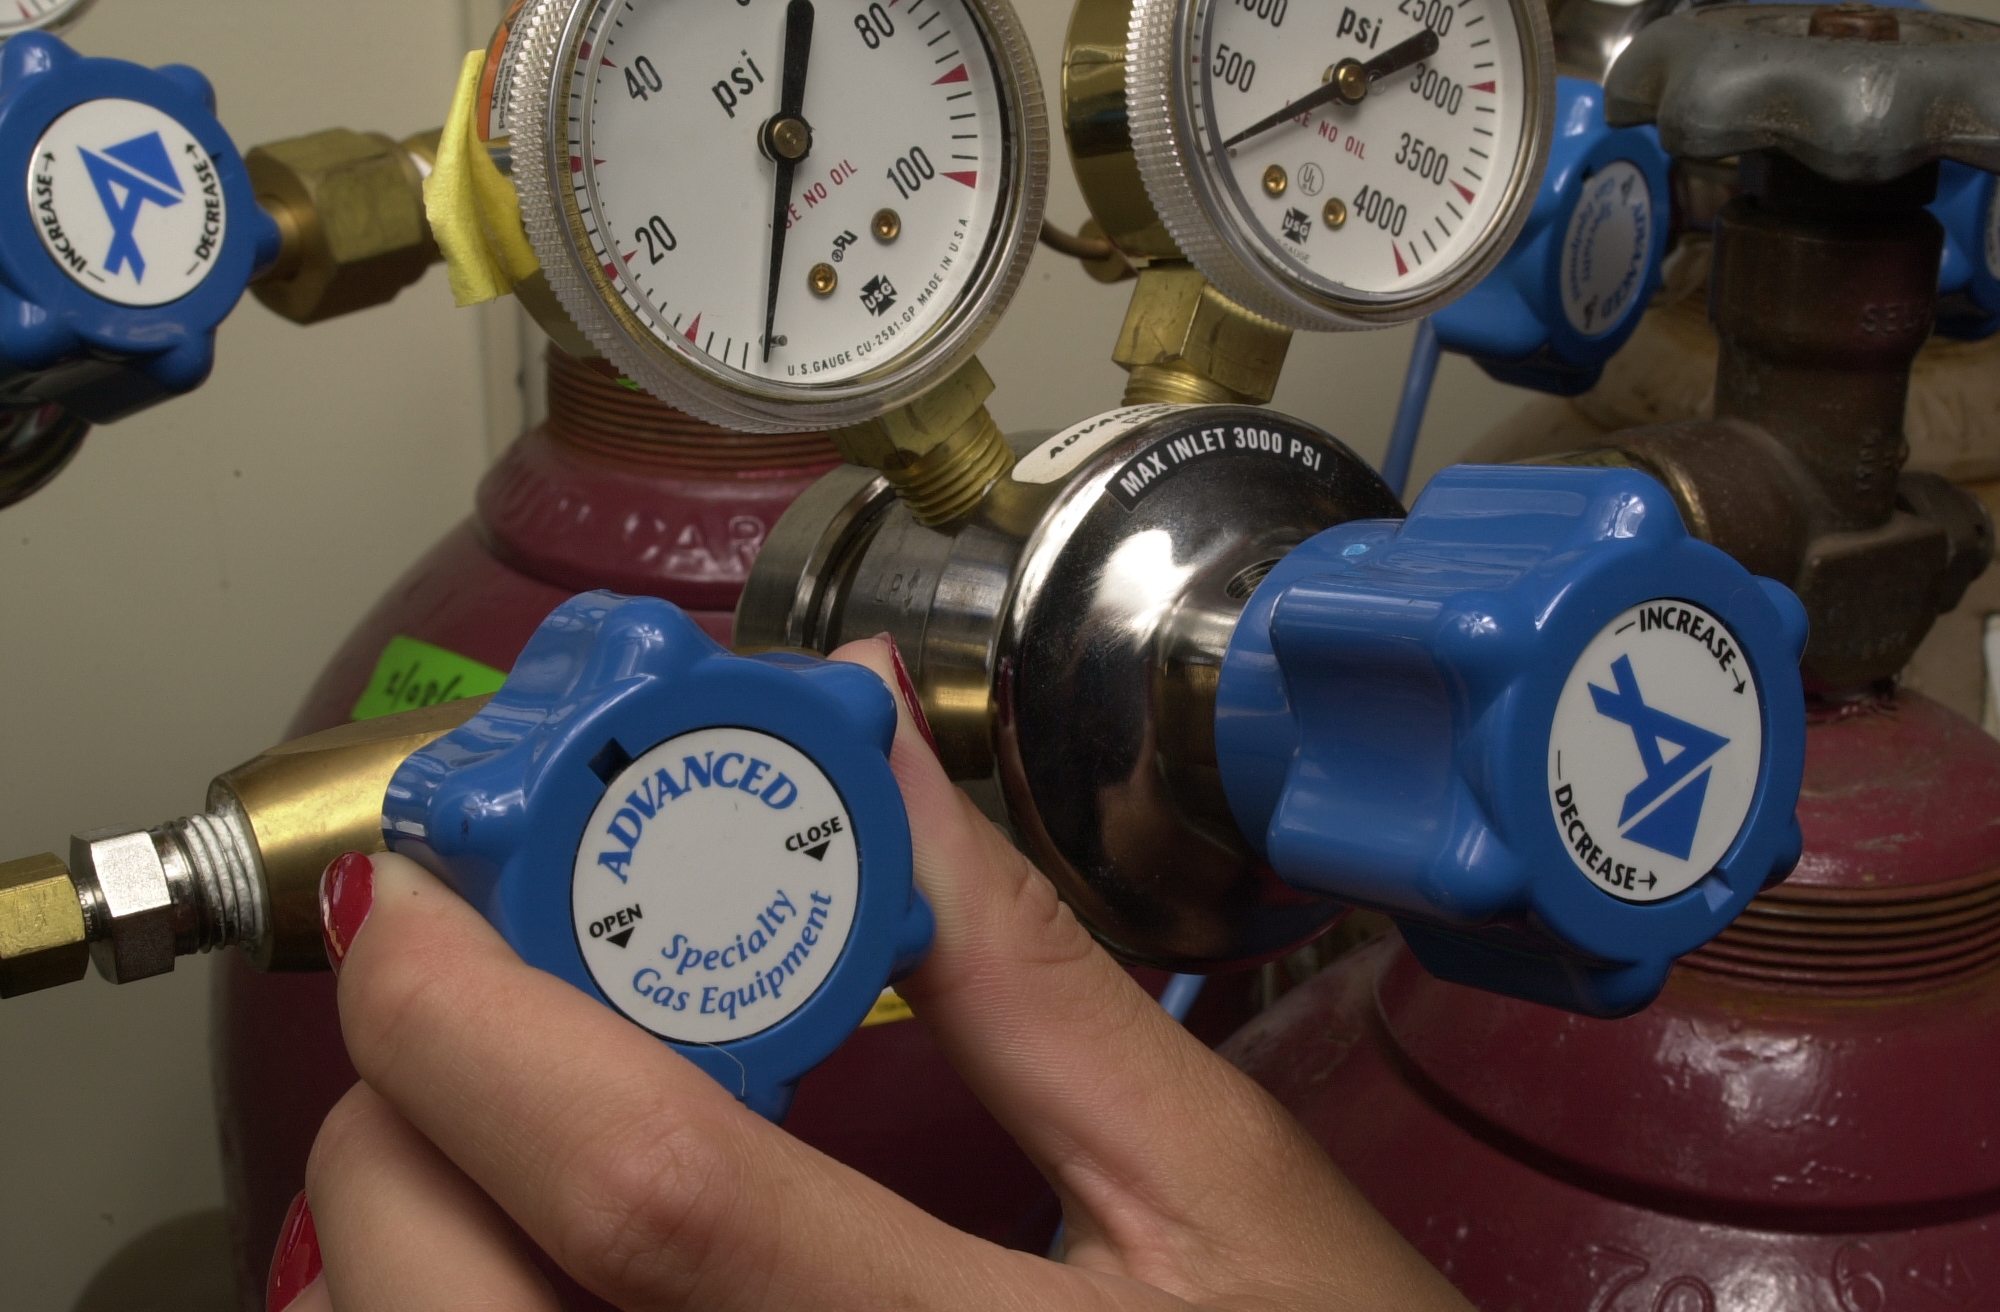
Clean out the gas lines using the following procedure: Close the blue regulator
valve (shown in this photo). Repeat this process five times - for CHN, you should set Helium purge for 300 seconds and repeat during purge. |
 |
 Return to Index