
| |
|
|
|
CHANGING A GAS TANK
|
|
Materials Required:
|
 |
|
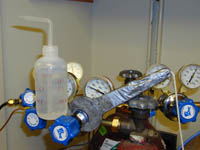
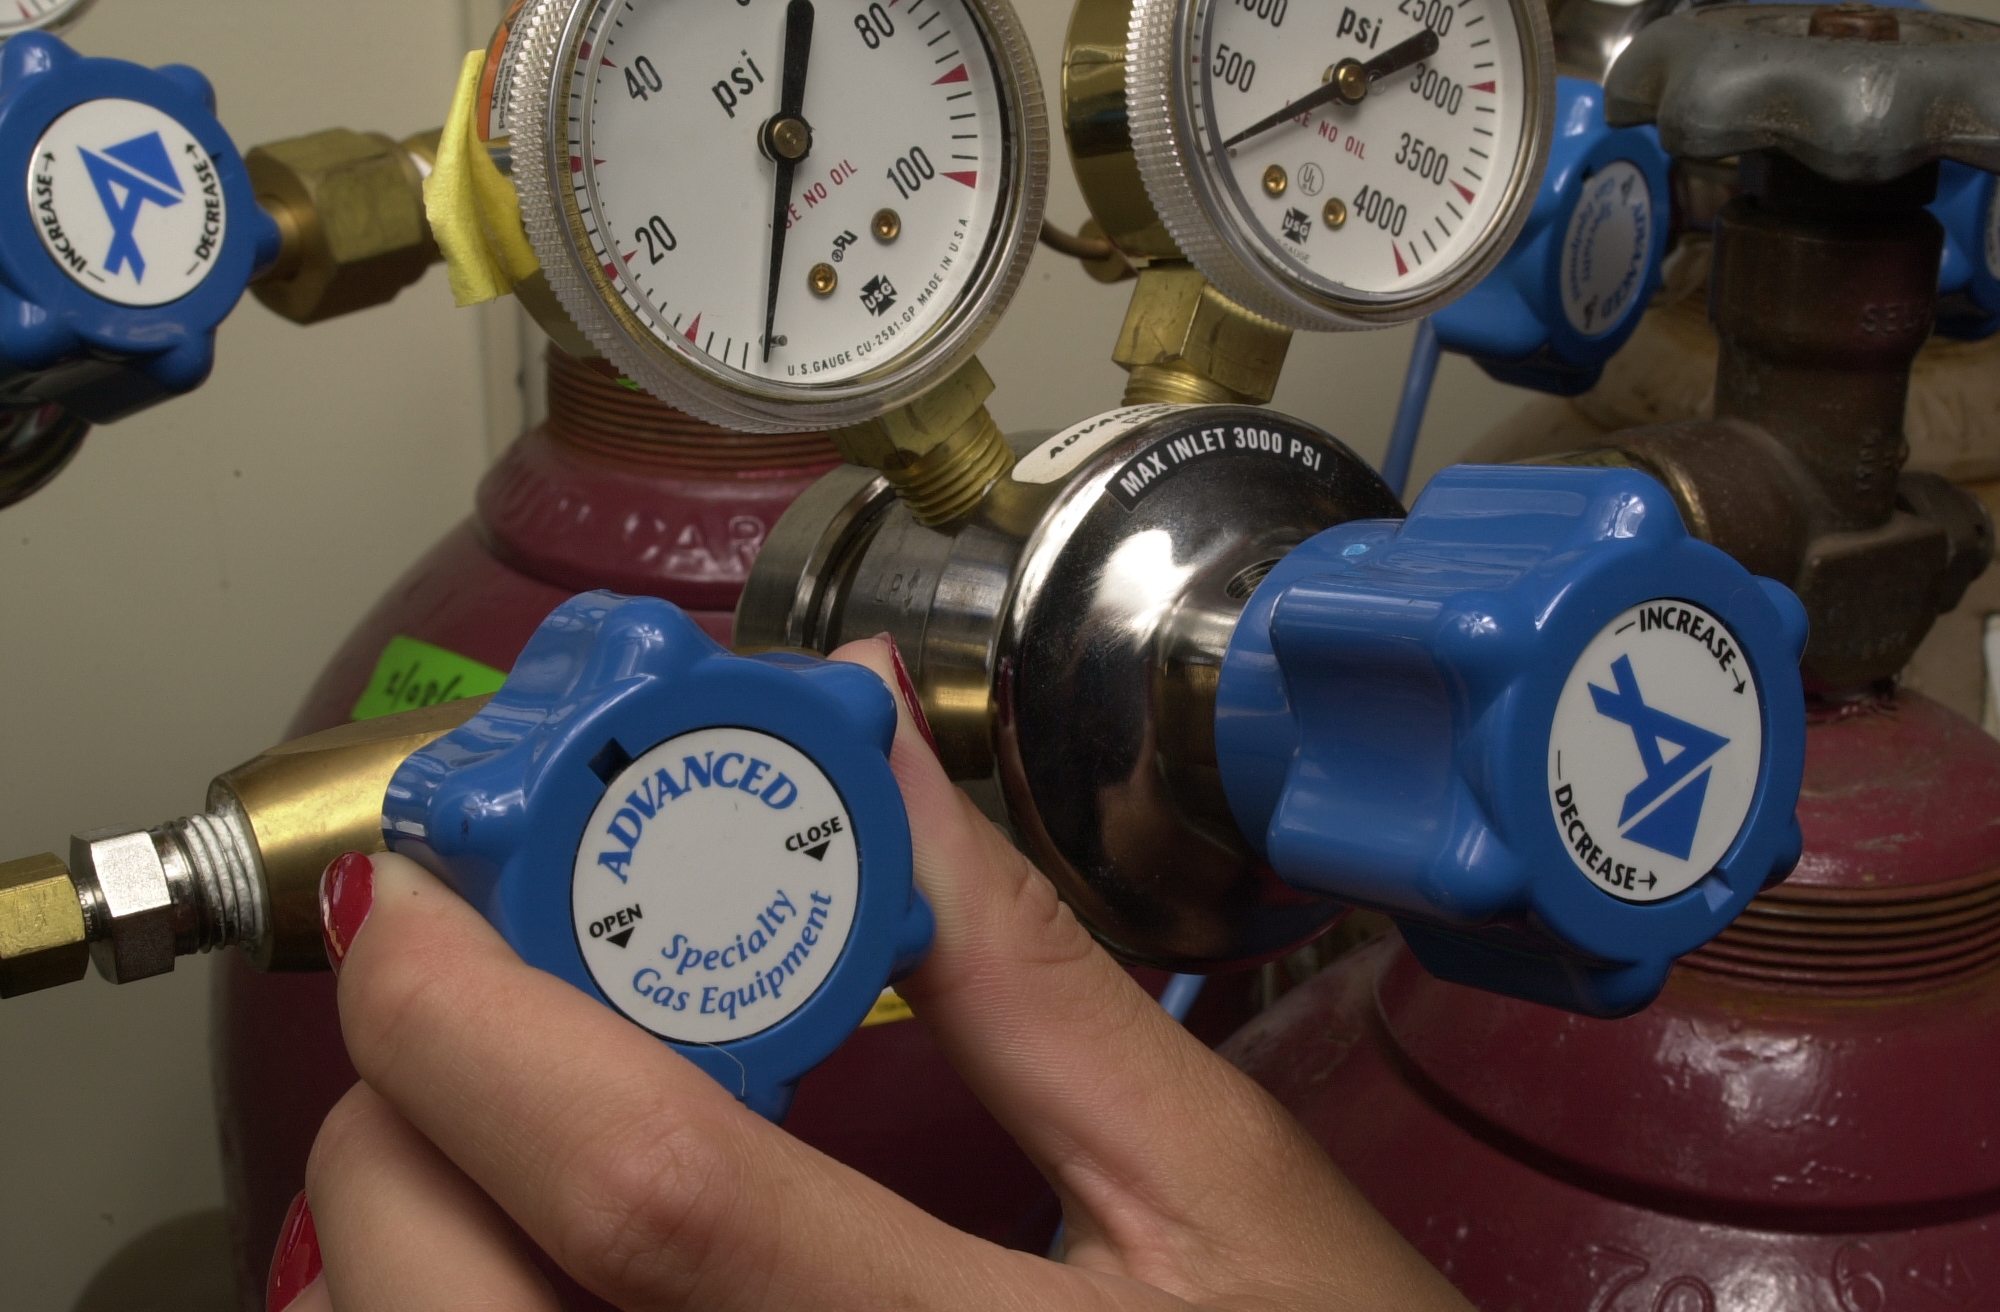
Turn off the gas tank (clockwise) using the main silver valve and let the gas lines all bleed out until both pounds per square inch (psi) readings are zero. |
 |
|
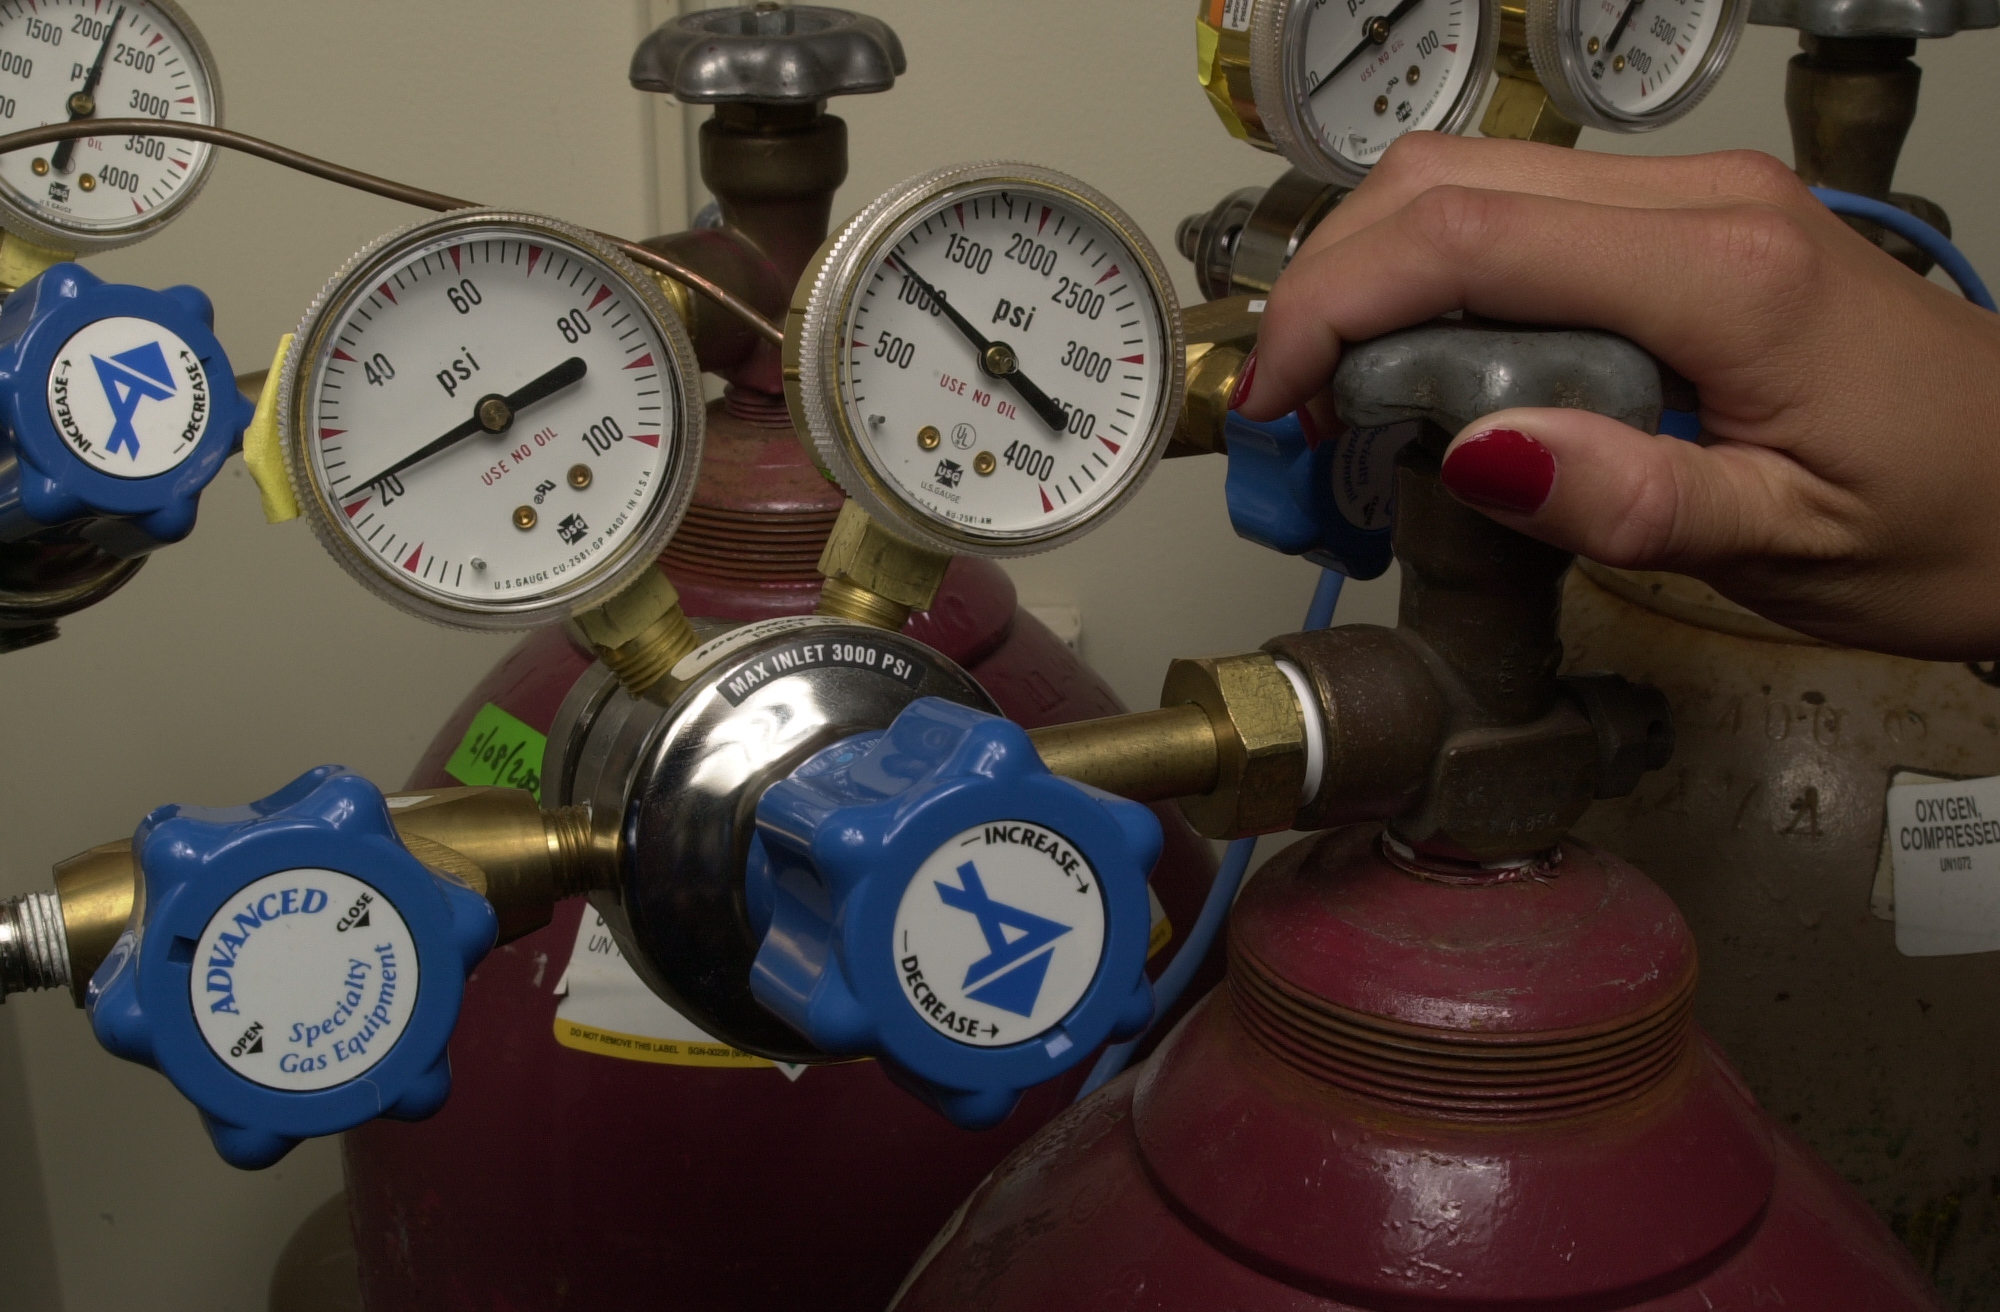
Use wrench to loosen nut and remove the regulator - be careful not to bend the copper connection wire too much. Roll away the spent tank and roll in the full tank - replace cap and order new tank as needed. Replace the regulator on the new tank and tighten nut with wrench. |
 |
|
Check for leaks around the regulator connection using Leak Detection Compound - if you see bubbles there is a leak and the regulator should be tightened. Turn the gas on (counter clockwise) using the main silver valve. |
 |
|
Clean out the gas lines using the following procedure: Close the blue regulator
valve (shown in this photo). Repeat this process five times - for CHN, you should set Helium purge for 300 seconds and repeat during purge. |
 |
 Return to Methods Procedures
 |
 Return to Index
 |